
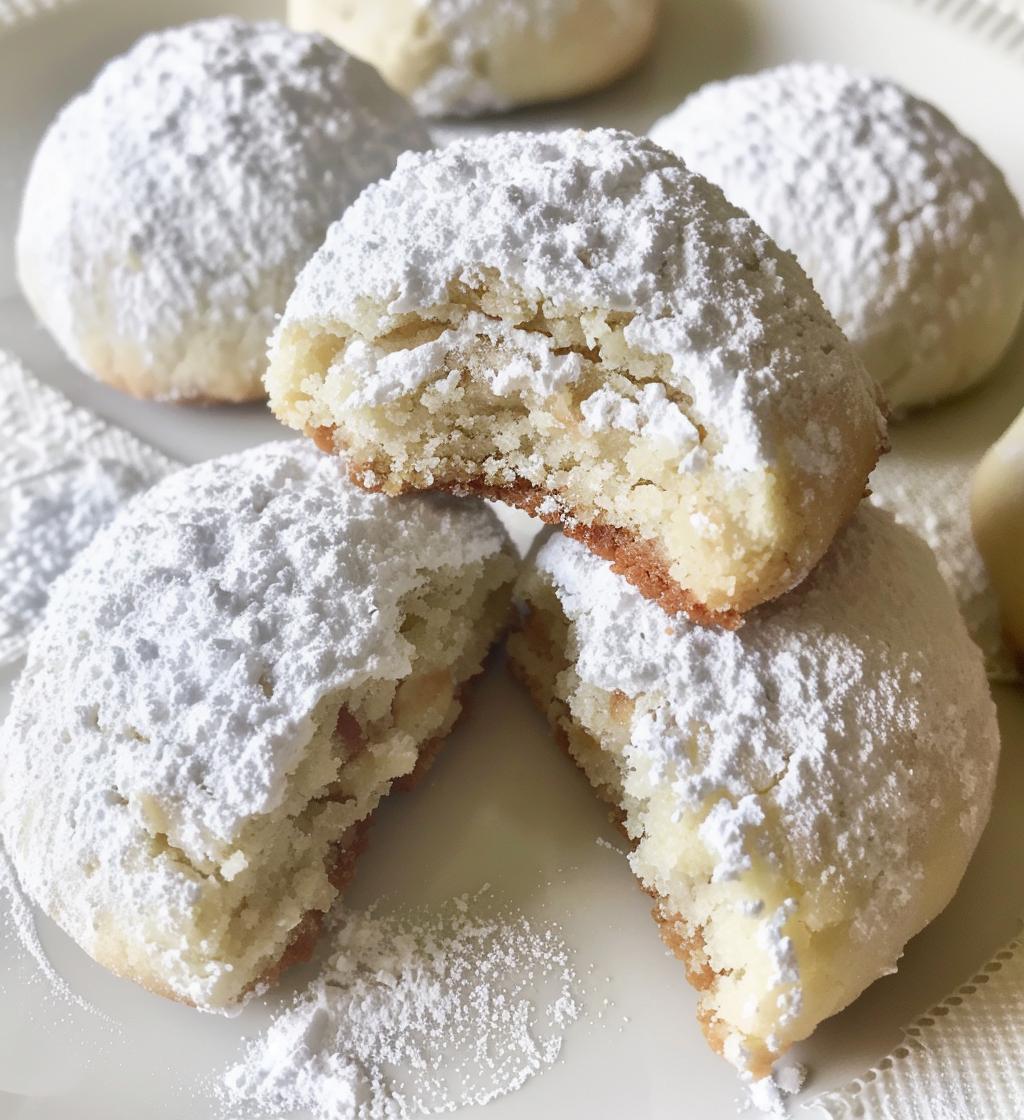
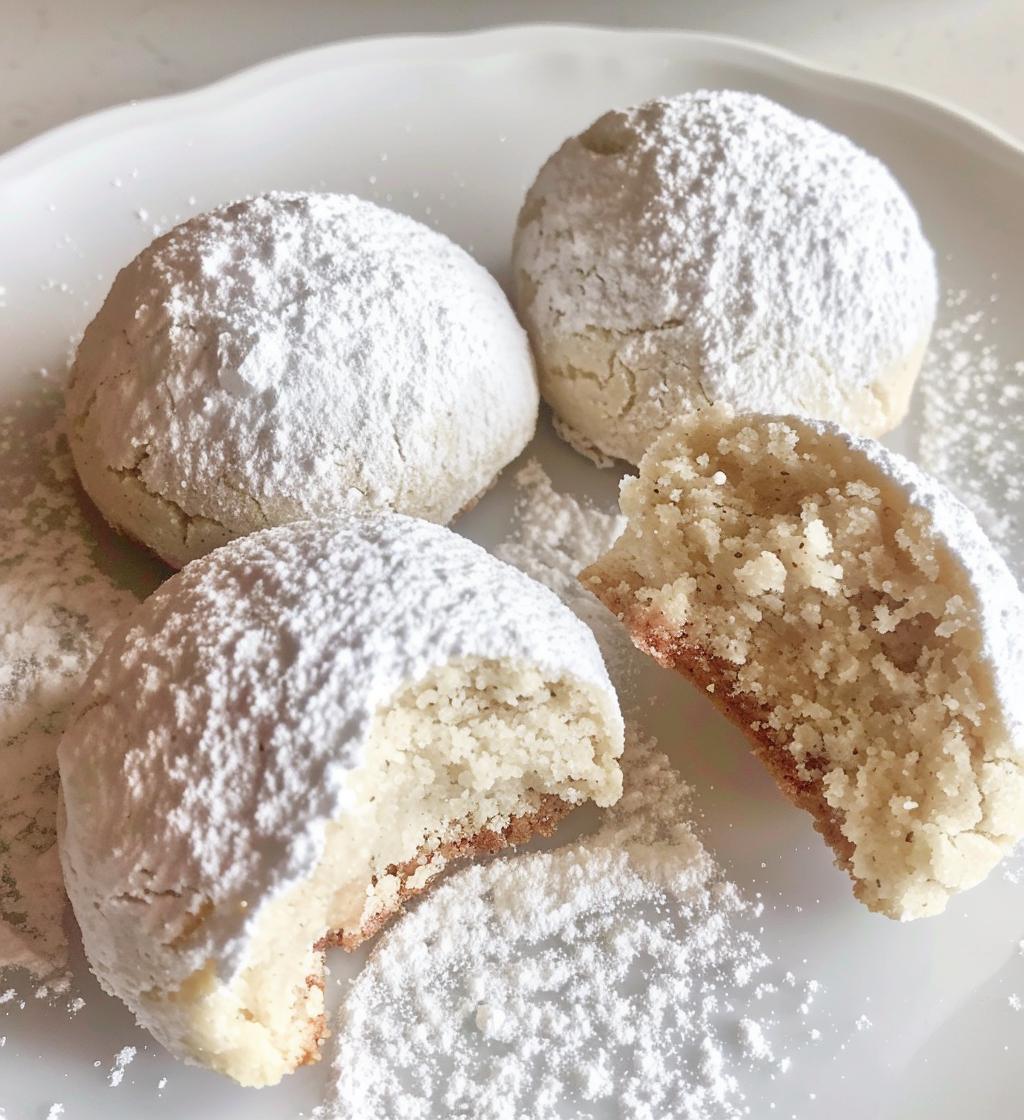
Oh my goodness, let me tell you about my love for Snowball cookies! These delightful, buttery treats are a staple in my kitchen, especially during the holidays. There’s something so magical about rolling them in powdered sugar, watching them transform into little snowy bites of happiness. Trust me, when you take that first bite, the texture is melt-in-your-mouth perfection! They’re not just cookies; they’re memories waiting to happen, perfect for family gatherings or cozy nights by the fire. I remember making these with my grandmother, and now I love sharing them with my own family. You’re going to adore making these cookies as much as I do!
Ingredients for Snowball Cookies
Gathering the right ingredients is key to making the most delicious Snowball cookies! Here’s what you’ll need:
- 1 cup unsalted butter, softened: Make sure your butter is at room temperature for easy creaming—this adds to that dreamy texture!
- 1/2 cup powdered sugar: This sweet ingredient not only adds flavor but helps create that signature snowy finish.
- 2 cups all-purpose flour: This is the base of your cookies, so sift it if you want to avoid any lumps!
- 1 cup finely chopped nuts (walnuts or pecans): Choose your favorite nuts for that delightful crunch and nutty flavor.
- 1 teaspoon vanilla extract: A splash of this magic ingredient brings warmth and depth to your cookies.
- 1/4 teaspoon salt: Just a pinch helps balance the sweetness and enhances all the flavors.
- Extra powdered sugar for coating: You’ll need this for rolling those warm cookies right out of the oven to achieve that lovely, snowy look!
How to Prepare Snowball Cookies
Making Snowball cookies is a breeze and oh-so-rewarding! Follow these simple steps, and you’ll have a batch of these delightful treats ready in no time!
- Preheat your oven: Start by preheating your oven to 350°F (175°C). This ensures that your cookies bake evenly and become perfectly golden.
- Cream the butter and sugar: In a large mixing bowl, cream together the softened butter and powdered sugar until the mixture is light and fluffy. This usually takes about 2-3 minutes—trust me, the fluffier, the better!
- Add the vanilla: Pour in the vanilla extract and mix well to combine. The smell will be heavenly!
- Mix in the dry ingredients: Gradually add the all-purpose flour, salt, and finely chopped nuts to the bowl. Mix just until everything is combined—overmixing can lead to tougher cookies, and we want them melt-in-your-mouth!
- Form the dough: Take small portions of the dough and roll them into balls, about 1 inch in diameter. It’s totally okay if they’re not perfect; that’s part of their charm!
- Prepare for baking: Place the dough balls on a baking sheet lined with parchment paper, leaving some space between them to allow for spreading.
- Bake: Pop the baking sheet in the oven and bake for 10-12 minutes. Keep an eye out for the edges to turn lightly golden—they’re done when they’re just set but still soft!
- Roll in powdered sugar: Let the cookies cool for a couple of minutes on the baking sheet before rolling them in powdered sugar while they’re still warm. This gives them that irresistible snowy coating!
- Cool completely: Transfer the cookies to a wire rack and allow them to cool completely. Try to resist eating them all at once—they’re best shared!
Why You’ll Love This Recipe
- Quick and Easy: With just a few simple steps, you can whip up these cookies in no time—perfect for busy holiday baking!
- Deliciously Buttery: The melt-in-your-mouth texture and rich buttery flavor will have everyone coming back for seconds.
- Festive Appeal: Their snowy coating makes them an adorable addition to any holiday dessert spread or cookie platter.
- Customizable: You can easily switch up the nuts or add a hint of your favorite flavor for a personal twist!
- Family Tradition: These cookies are perfect for creating sweet memories with loved ones, just like I did with my grandmother.
Tips for Success
To make sure your Snowball cookies turn out absolutely perfect every time, here are some tried-and-true tips that I swear by:
- Butter Temperature: Ensure your butter is softened but not melted. This is crucial for achieving that light, fluffy texture when creaming with sugar.
- Don’t Overmix: When adding the flour and nuts, mix until just combined. Overmixing can make your cookies tough instead of tender!
- Uniform Size: Try to roll the dough balls to a consistent size—around 1 inch—as this helps them bake evenly.
- Watch the Oven: Keep an eye on them while baking! They should be lightly golden around the edges but still soft in the center when you take them out.
- Roll Warm: Roll the cookies in powdered sugar while they’re still warm, so it sticks better and creates that beautiful snowy coating.
- Cooling Time: Allow the cookies to cool slightly on the baking sheet before transferring them to a wire rack. This helps them set up nicely without breaking apart.
Variations of Snowball Cookies
One of the best things about Snowball cookies is how versatile they are! You can easily switch things up to create your own unique version. Here are some fun ideas to inspire your creativity:
- Nutty Delights: While I love walnuts and pecans, try using almonds or hazelnuts for a different flavor profile! Just make sure to chop them finely for that delightful crunch.
- Chocolate Lovers: Add a tablespoon of cocoa powder to the dough for a chocolatey twist, or fold in some mini chocolate chips for a sweet surprise in every bite!
- Coconut Paradise: Mix in some shredded coconut for a tropical vibe. It adds a lovely chewiness and pairs beautifully with the buttery base.
- Citrus Zing: A dash of lemon or orange zest can brighten up the flavor, giving your cookies a refreshing twist that’s perfect for spring gatherings!
- Spiced Up: Incorporate warm spices like cinnamon or nutmeg into the dough for a cozy, holiday feel—perfect for those chilly winter nights!
- Gluten-Free Option: Swap the all-purpose flour with a gluten-free blend if you’re looking to accommodate dietary restrictions. Just make sure it’s a mix that works well for baking!
Feel free to mix and match these ideas to make your Snowball cookies truly your own. The possibilities are endless, and I can’t wait for you to experiment and discover your favorite version!
Storage & Reheating Instructions
Storing your Snowball cookies properly is key to keeping them fresh and delightful! Here’s how I do it:
- Room Temperature: Once completely cooled, store the cookies in an airtight container at room temperature. They’ll stay delicious for up to a week—if they last that long!
- Longer Storage: If you want to keep them for longer, you can freeze the cookies. Just layer them between sheets of parchment paper in an airtight container or a zip-top bag. They can be frozen for up to 3 months.
- Thawing: When you’re ready to enjoy, simply take out the desired number of cookies and let them thaw at room temperature for a bit. No need to reheat them; they’re perfect cold, but if you prefer them warm, pop them in the microwave for just a few seconds—watch closely so they don’t melt!
With these storage tips, you can savor your Snowball cookies whenever the craving strikes! Enjoy every last crumb!
Nutritional Information
While I love sharing these delicious Snowball cookies, keep in mind that nutritional values can vary based on the ingredients and brands you use. Here’s a general idea of what you can expect per cookie:
- Calories: 120
- Fat: 8g
- Saturated Fat: 4g
- Unsaturated Fat: 3g
- Trans Fat: 0g
- Cholesterol: 20mg
- Sodium: 30mg
- Carbohydrates: 12g
- Fiber: 1g
- Sugar: 4g
- Protein: 2g
These charming little cookies are a delightful treat, but if you’re keeping an eye on your nutrition, just be mindful of portion sizes. Enjoy every buttery bite guilt-free!
FAQ About Snowball Cookies
Can I make Snowball cookies ahead of time?
Absolutely! These cookies can be made ahead and stored in an airtight container at room temperature for up to a week. They also freeze beautifully, so feel free to whip up a batch and save some for later!
What nuts can I use in Snowball cookies?
I love using walnuts or pecans, but you can get creative! Almonds, hazelnuts, or even macadamia nuts work wonderfully. Just make sure to chop them finely for that perfect texture!
Why are my Snowball cookies spreading too much?
Oh no! If your cookies are spreading too much, it might be that the butter was too warm or melted. Make sure to use softened butter and chill the dough for about 30 minutes before baking to help them maintain their shape!
How can I make my Snowball cookies more flavorful?
To amp up the flavor, try adding a teaspoon of almond extract or some citrus zest to the dough. You can also incorporate spices like cinnamon or nutmeg for a cozy twist that’s perfect for the holidays!
Why are my cookies dry?
Dry cookies can happen if the dough is overmixed or overbaked. Remember to mix just until combined and keep an eye on them while baking. They should be soft in the center when you take them out!

Snowball cookies: 5 Butter-Sweet Secrets to Perfection
- Prep Time: 15 minutes
- Cook Time: 12 minutes
- Total Time: 27 minutes
- Yield: 24 cookies 1x
- Category: Dessert
- Method: Baking
- Cuisine: American
- Diet: Vegetarian
Description
Snowball cookies are delightful, buttery treats rolled in powdered sugar.
Ingredients
- 1 cup unsalted butter, softened
- 1/2 cup powdered sugar
- 2 cups all-purpose flour
- 1 cup finely chopped nuts (walnuts or pecans)
- 1 teaspoon vanilla extract
- 1/4 teaspoon salt
- Extra powdered sugar for coating
Instructions
- Preheat your oven to 350°F (175°C).
- In a large bowl, cream together the softened butter and powdered sugar until light and fluffy.
- Add the vanilla extract and mix well.
- Gradually add the flour, salt, and chopped nuts, mixing until just combined.
- Form the dough into small balls (about 1 inch in diameter).
- Place the balls on a baking sheet lined with parchment paper.
- Bake for 10-12 minutes, or until the edges are lightly golden.
- Let the cookies cool slightly, then roll them in powdered sugar while still warm.
- Allow to cool completely on a wire rack.
Notes
- Store cookies in an airtight container.
- These cookies can be made ahead of time and frozen.
- Feel free to substitute different nuts based on your preference.
Nutrition
- Serving Size: 1 cookie
- Calories: 120
- Sugar: 4g
- Sodium: 30mg
- Fat: 8g
- Saturated Fat: 4g
- Unsaturated Fat: 3g
- Trans Fat: 0g
- Carbohydrates: 12g
- Fiber: 1g
- Protein: 2g
- Cholesterol: 20mg
Keywords: Snowball cookies, butter cookies, holiday cookies