
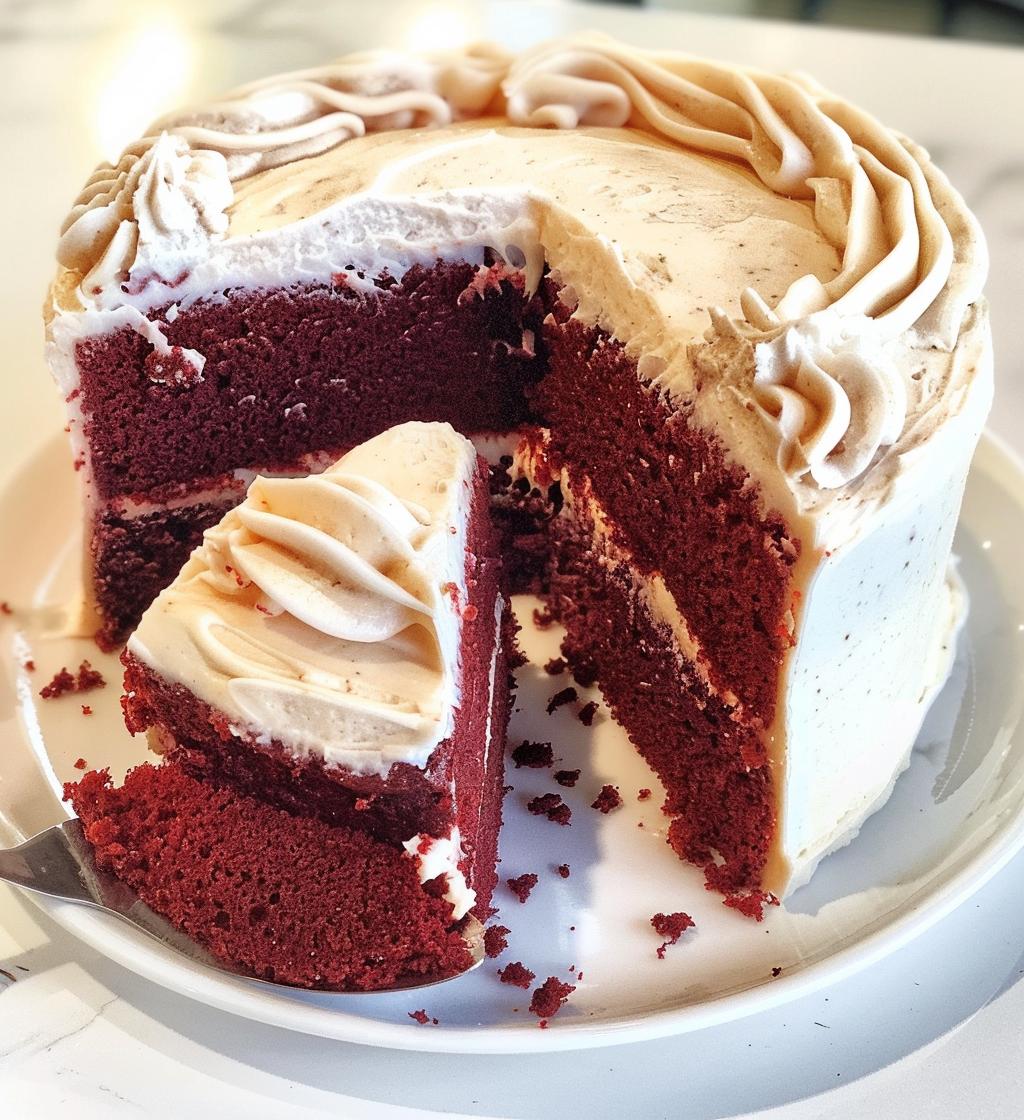
Red velvet cake has become a showstopper at every celebration, and it’s no wonder why! With its striking red hue and rich, velvety texture, this cake is not just a feast for the eyes; it’s a true delight for the taste buds. I remember the first time I tried a slice at a friend’s birthday party. The moment I took my first bite, the combination of the soft cake and tangy cream cheese frosting made my heart skip a beat! There’s something so luxurious about the flavor of red velvet cake that makes it feel special. Whether you’re celebrating a birthday, an anniversary, or just treating yourself, this cake is a perfect choice. Trust me, once you take a slice, you’ll be dreaming about it for days!
Ingredients for Red Velvet Cake
Gathering the right ingredients is key to making the most delicious red velvet cake! Here’s what you’ll need:
- 2 1/2 cups all-purpose flour
- 1 1/2 cups granulated sugar
- 1 teaspoon baking soda
- 1 teaspoon salt
- 1 teaspoon cocoa powder (just a hint for flavor!)
- 1 1/2 cups vegetable oil
- 1 cup buttermilk, at room temperature (this adds that necessary moisture)
- 2 large eggs, at room temperature (trust me, it makes a difference!)
- 2 tablespoons red food coloring (the star of the show!)
- 1 teaspoon vanilla extract
- 1 teaspoon white vinegar (this helps with the cake’s texture)
Make sure to check your pantry before you start baking, so you have everything on hand. Happy baking!
How to Prepare Red Velvet Cake
Now that you’ve got your ingredients ready, let’s dive into the delightful process of making this red velvet cake! I promise, it’s easier than it looks, and the result is absolutely worth it.
Preheat and Prepare Pans
First things first, preheat your oven to 350°F (175°C). While that’s heating up, grab two 9-inch round cake pans. Make sure to grease them well with butter or cooking spray, and then sprinkle a bit of flour inside, shaking off the excess. This helps prevent any sticking, which is a total lifesaver when it comes time to take the cakes out!
Mix Dry Ingredients
In a large mixing bowl, combine the flour, sugar, baking soda, salt, and cocoa powder. Whisk them together until they’re well blended. This step is crucial because it ensures that your cake will rise beautifully and have a lovely, even texture. Just a quick mix will do—no need to overthink it!
Combine Wet Ingredients
Now, let’s move on to the wet ingredients! In another bowl, mix the vegetable oil, buttermilk, eggs, red food coloring, vanilla extract, and white vinegar. Make sure all your ingredients are at room temperature; this little tip really helps the batter come together nicely. Trust me, you want that smooth consistency!
Combine and Mix Batter
Gradually add your dry mixture into the wet ingredients. I like to do this in three parts—mixing just until it’s smooth and combined after each addition. Don’t overmix; we want to keep that light and airy texture. You’ll see the batter transform into that gorgeous red hue—so satisfying!
Bake the Cake
Divide the batter evenly between the two prepared pans. Pop them in the oven and bake for 25-30 minutes. To check for doneness, gently press the tops; they should spring back. If you have a toothpick handy, stick it in the center—if it comes out clean, you’re good to go!
Cooling and Frosting
Once baked, let the cakes cool in the pans for about 10 minutes. This helps them firm up a bit. Then, carefully remove them from the pans and transfer them to wire racks to cool completely. It’s crucial to let them cool before frosting; otherwise, your cream cheese frosting might melt right off! Once cooled, it’s time to slather on that delicious cream cheese frosting—enjoy every luscious bite!
Nutritional Information
Here’s a quick glance at the typical nutritional values for a slice of this delectable red velvet cake. Keep in mind that these values are estimates and can vary based on the specific ingredients you use:
- Calories: 350
- Fat: 18g
- Saturated Fat: 3g
- Unsaturated Fat: 15g
- Trans Fat: 0g
- Cholesterol: 45mg
- Sodium: 300mg
- Sugar: 25g
- Carbohydrates: 45g
- Fiber: 1g
- Protein: 4g
So, while this cake is a treat, it’s always good to enjoy it in moderation! Happy baking and indulging!
Why You’ll Love This Red Velvet Cake
- Rich Flavor: The combination of cocoa and buttermilk creates a unique flavor that’s both sweet and slightly tangy, making every bite a delight!
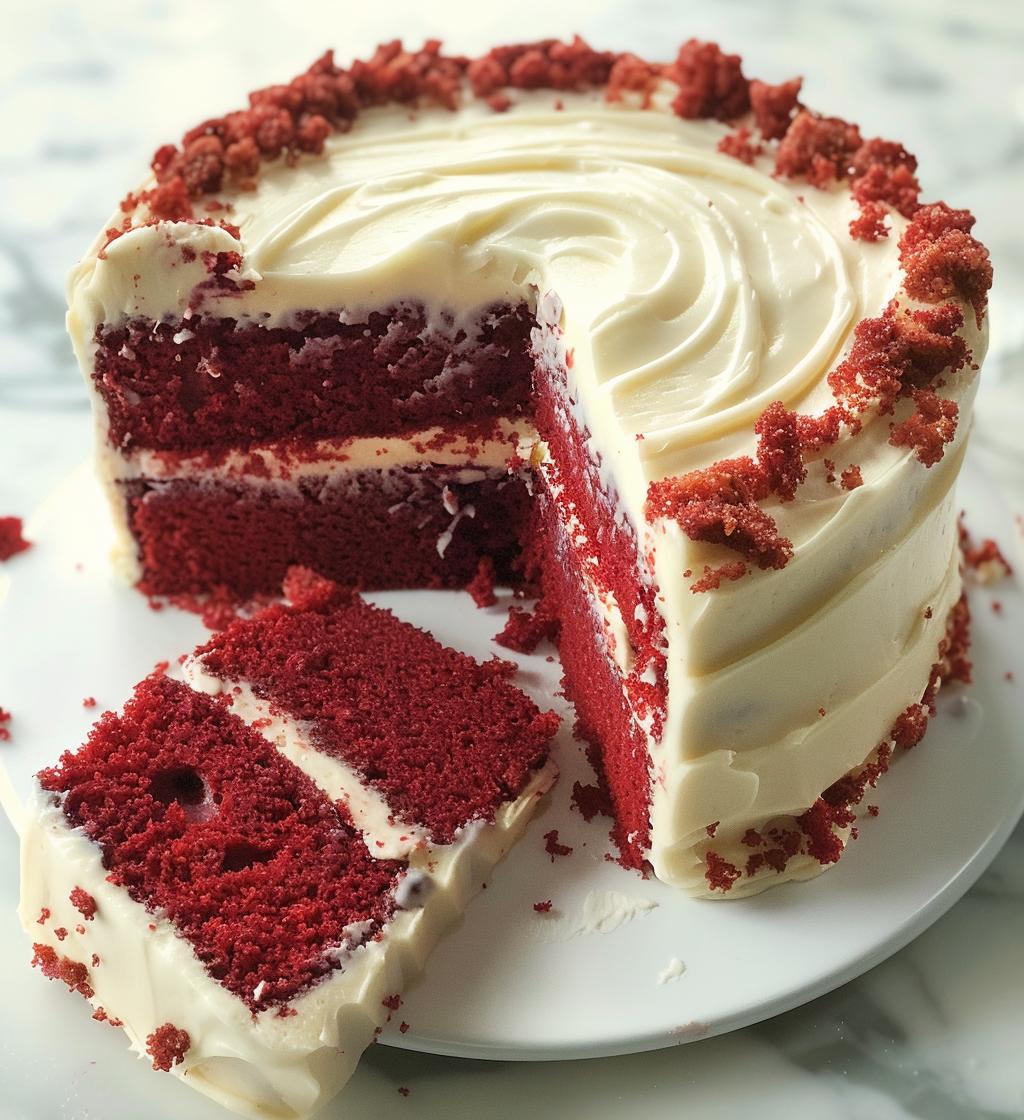
- Stunning Appearance: Its vibrant red color makes it an eye-catching centerpiece for any event, guaranteed to impress your guests!
- Easy Preparation: With straightforward steps and common ingredients, you’ll have this cake whipped up in no time—even if you’re a beginner!
- Perfect for Celebrations: Whether it’s a birthday, wedding, or holiday gathering, this cake fits any occasion and brings everyone together.
- Decadent Cream Cheese Frosting: The luscious cream cheese frosting adds a creamy texture that complements the cake perfectly, making it even more irresistible.
- Versatile Flavor: You can easily customize it with different frosting flavors or even add a hint of chocolate or a layer of fruit for a twist!
Tips for Success with Red Velvet Cake
Getting that perfect red velvet cake is all about the details! Here are some of my top tips to ensure your cake turns out absolutely fantastic:
- Room Temperature Ingredients: Always use room temperature eggs and buttermilk. This helps the batter mix evenly, giving you that smooth, velvety texture we all love!
- Use Cake Flour: For an even lighter cake, try substituting all-purpose flour with cake flour. It’ll give you a softer crumb that melts in your mouth!
- Don’t Skip the Vinegar: The white vinegar not only adds a nice tang but also reacts with the baking soda for the perfect rise. Don’t leave it out!
- Adjust the Food Coloring: If you prefer a more intense red, feel free to add a bit more food coloring, but remember that a little goes a long way!
- Check for Doneness: Since oven temperatures can vary, keep an eye on your cakes during the last few minutes of baking. The toothpick test is your best friend—just make sure it comes out clean!
- Let Them Cool Completely: Patience is key! Make sure your cakes are completely cooled before frosting. This prevents the frosting from melting and sliding off.
- Frosting Variations: While cream cheese frosting is classic, feel free to experiment with flavors! A chocolate ganache or a light buttercream can add a fun twist.
- Layer It Up: For a show-stopping presentation, consider making a three-layer cake instead of two. Just adjust your baking time accordingly!
With these tips, you’ll be well on your way to making a red velvet cake that’ll wow everyone! Happy baking!
Storage & Reheating Instructions
Now, let’s talk about keeping that delicious red velvet cake fresh for as long as possible! After you’ve enjoyed a few slices (because who can resist?), you’ll want to store any leftovers properly to maintain that moist texture and rich flavor.
The best way to store your red velvet cake is in an airtight container. Just pop it into the container and make sure it’s sealed tight. If you’ve frosted the cake, it’s a good idea to place a piece of wax paper or parchment between the frosting and the lid to avoid any smudging. You can keep it at room temperature for up to 2 days, or if you want to keep it longer, refrigerate it for up to a week. Just remember, the cake might dry out a bit in the fridge, so I recommend enjoying it sooner rather than later!
If you want to save it even longer, you can freeze the cake! To do this, wrap each slice individually in plastic wrap, then place them in a freezer-safe bag or container. This way, you can pull out a slice whenever you get that craving! It’ll stay fresh for about 2-3 months in the freezer.
When you’re ready to enjoy your frozen cake, simply let it thaw in the refrigerator overnight. If you prefer a warm slice, you can pop it in the microwave for about 10-15 seconds. Just be careful not to overdo it—nobody likes a rubbery cake!
With these storage tips, you can savor your red velvet cake for days to come. Enjoy every last bite!
FAQ About Red Velvet Cake
Got questions about red velvet cake? Don’t worry, I’ve got you covered! Here are some common queries that come up, along with my trusty answers:
Can I use a different frosting besides cream cheese?
Absolutely! While cream cheese frosting is a classic pairing, you can experiment with other frostings like a light buttercream, chocolate ganache, or even a fluffy whipped cream. Each one adds a unique twist to the beloved red velvet flavor!
Can I make a gluten-free version of this cake?
Yes, you can! Simply substitute the all-purpose flour with a gluten-free flour blend that measures cup-for-cup. Just keep an eye on the baking time, as gluten-free cakes can behave a little differently!
What are some fun variations I can try?
Oh, the possibilities are endless! You could add chocolate chips for a decadent treat, swirl in some raspberry or strawberry puree for a fruity twist, or even incorporate nuts for added texture. Just let your creativity shine!
How can I adjust the sweetness?
If you prefer a less sweet cake, you can reduce the sugar by about 1/4 cup without compromising the texture too much. Just remember, the cream cheese frosting is also quite sweet, so balance is key!
Can I make this cake ahead of time?
Definitely! You can bake the cake a day or two in advance. Just make sure to store it properly, as I mentioned earlier. This way, you can save time on the day of your celebration and just focus on frosting and decorating!
With these FAQs in mind, you’re all set to tackle your red velvet cake adventure with confidence! Happy baking!
Print
Red velvet cake: 5 irresistible tips for pure bliss
- Prep Time: 30 minutes
- Cook Time: 30 minutes
- Total Time: 1 hour
- Yield: 12 servings 1x
- Category: Dessert
- Method: Baking
- Cuisine: American
- Diet: Vegetarian
Description
A rich and moist red velvet cake with cream cheese frosting.
Ingredients
- 2 1/2 cups all-purpose flour
- 1 1/2 cups sugar
- 1 teaspoon baking soda
- 1 teaspoon salt
- 1 teaspoon cocoa powder
- 1 1/2 cups vegetable oil
- 1 cup buttermilk, room temperature
- 2 large eggs, room temperature
- 2 tablespoons red food coloring
- 1 teaspoon vanilla extract
- 1 teaspoon white vinegar
Instructions
- Preheat the oven to 350°F (175°C).
- Grease and flour two 9-inch round cake pans.
- In a bowl, mix flour, sugar, baking soda, salt, and cocoa powder.
- In another bowl, combine oil, buttermilk, eggs, food coloring, vanilla, and vinegar.
- Gradually add dry ingredients to wet ingredients and mix until smooth.
- Divide batter between pans and bake for 25-30 minutes.
- Let cakes cool in pans for 10 minutes, then remove and cool completely on wire racks.
- Frost with cream cheese frosting once cooled.
Notes
- Store leftovers in an airtight container.
- For a richer flavor, use cake flour.
- Adjust food coloring for desired redness.
Nutrition
- Serving Size: 1 slice
- Calories: 350
- Sugar: 25g
- Sodium: 300mg
- Fat: 18g
- Saturated Fat: 3g
- Unsaturated Fat: 15g
- Trans Fat: 0g
- Carbohydrates: 45g
- Fiber: 1g
- Protein: 4g
- Cholesterol: 45mg
Keywords: red velvet cake, dessert, cream cheese frosting