
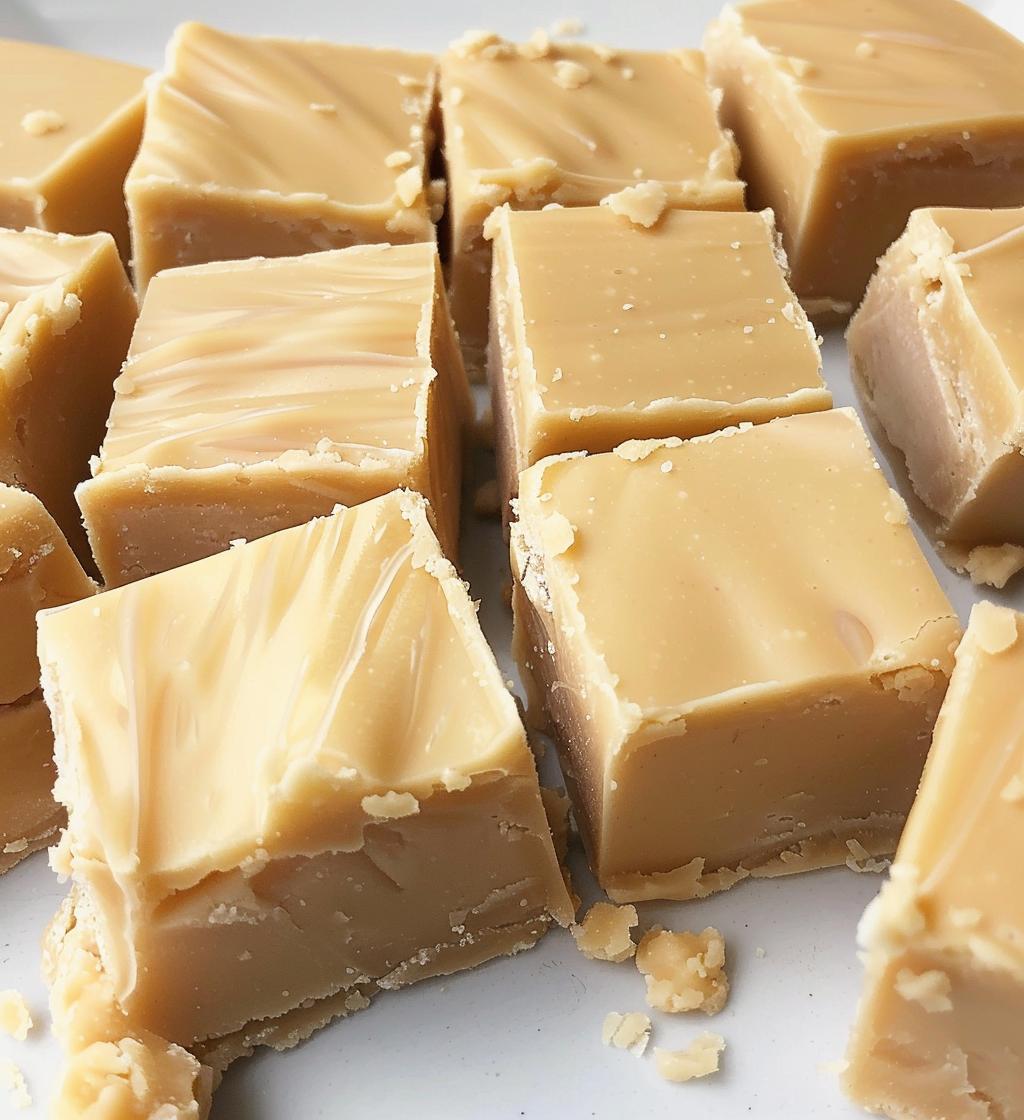
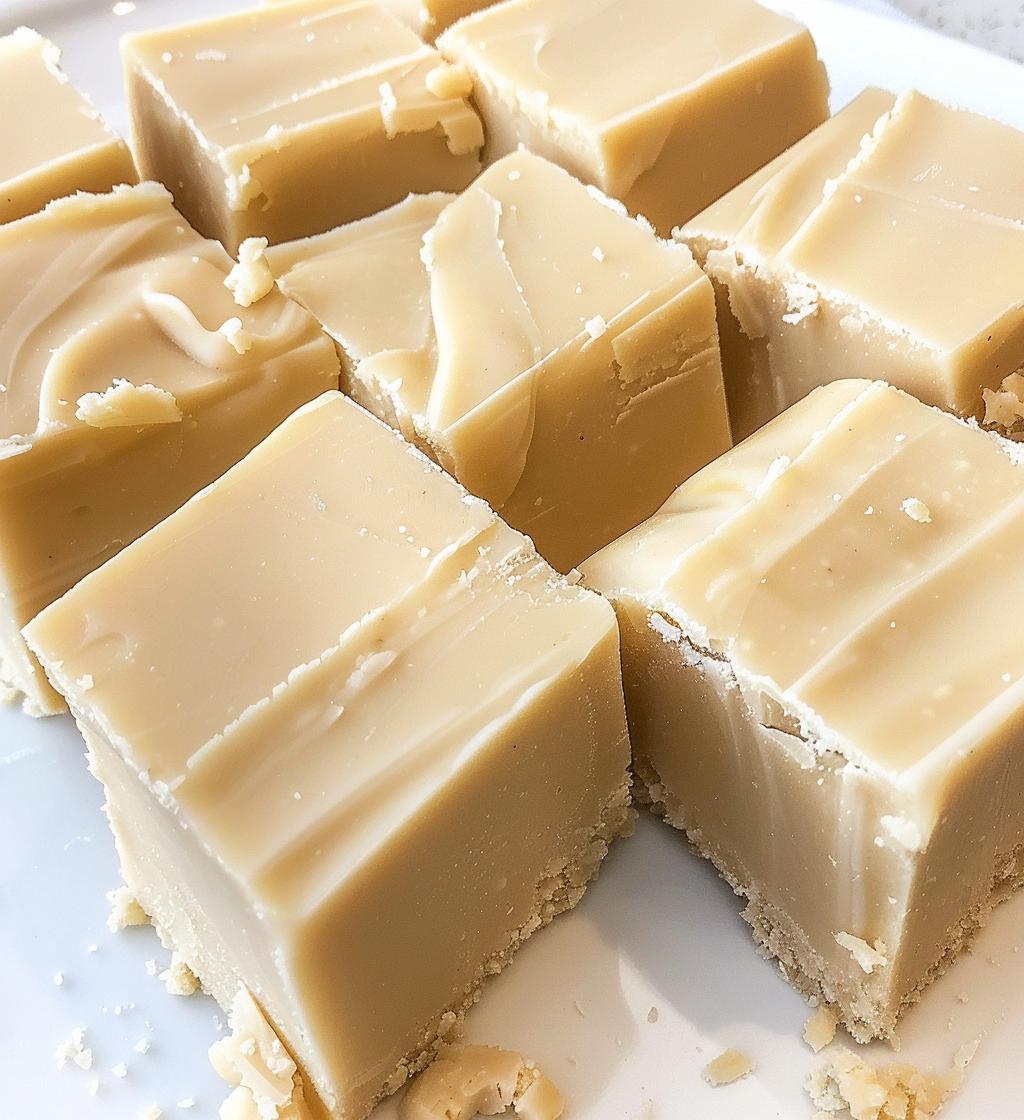
Oh my goodness, let me tell you about this white chocolate fudge! It’s creamy, dreamy, and melts in your mouth like a little piece of heaven. I swear, every time I make this, it takes me back to family gatherings where we’d all gather around the table, excitedly waiting for dessert. My aunt would always whip up a batch, and we’d practically dive into it! The best part? You can whip it up in just about 20 minutes, and the hardest part is waiting for it to chill in the fridge. Trust me, the anticipation is totally worth it when you take that first bite! It’s rich, sweet, and oh-so-satisfying—perfect for any occasion or just a treat for yourself. So, let’s get started on making this magical fudge!
Ingredients for White Chocolate Fudge
- 2 cups white chocolate chips
- 1 can (14 oz) sweetened condensed milk
- 1/2 cup unsalted butter
- 1 teaspoon vanilla extract
- 1/4 teaspoon salt
How to Prepare White Chocolate Fudge
Alright, let’s dive into the fun part—making this luscious white chocolate fudge! It’s super simple, and I promise you’ll be amazed at how quickly it all comes together. Just follow these steps, and you’ll have a sweet treat that’s sure to impress!
Step-by-Step Instructions
- Prep your dish: Start by lining an 8×8 inch baking dish with parchment paper. This is crucial! It’ll help you lift the fudge out easily once it’s set.
- Melt the butter: In a saucepan, melt the unsalted butter over low heat. Keeping the heat low is key here; you don’t want it to brown—just melt it gently.
- Add the sweet stuff: Once the butter is melted, stir in the 2 cups of white chocolate chips and the can of sweetened condensed milk. Keep stirring until everything is smooth and well combined. This is the part where your kitchen will start smelling heavenly!
- Flavor it up: Remove the saucepan from heat and stir in the 1 teaspoon of vanilla extract and the 1/4 teaspoon of salt. This adds a lovely depth of flavor to your fudge.
- Pour and spread: Pour the mixture into the prepared baking dish and spread it out evenly. You want it to look nice and smooth on top—this will help make those perfect squares later!
- Chill out: Now for the hardest part—refrigerate the fudge for at least 2 hours until it’s set. I know, waiting is tough, but just think about how delicious it will be!
- Cut and serve: Once it’s firm and ready, lift the fudge out using the parchment paper. Cut it into squares, and you’re all set to enjoy this delightful treat!
And there you have it! You’ve made your very own white chocolate fudge. Easy peasy, right? Just remember to keep an eye on the melting process and stir gently. You’ll be a fudge-making pro in no time!
Why You’ll Love This Recipe
- Super Easy to Make: Seriously, it only takes about 20 minutes of hands-on time! Perfect for when you need a quick dessert fix.
- Irresistibly Creamy: The texture of this fudge is out of this world! It’s soft, smooth, and melts in your mouth with every bite.
- Deliciously Sweet: The rich flavor of white chocolate combined with the sweetness of condensed milk is a match made in dessert heaven.
- Customizable: You can mix in nuts, dried fruits, or even flavored extracts to make it your own! Get creative with your favorite add-ins!
- Perfect for Any Occasion: Whether it’s a holiday, a birthday, or just a Tuesday, this fudge fits right in—everyone will love it!
- Great for Sharing: Cut it into pretty squares and share with friends or family. Trust me, they’ll be begging for the recipe!
- Make Ahead: This fudge can be made in advance and stored in the fridge, so you’ll always have a sweet treat on hand!
Tips for Success
Now, let me share some of my top tips to ensure your white chocolate fudge turns out perfectly every single time! It’s all about those little details that make a big difference.
- Quality Ingredients Matter: Trust me, using high-quality white chocolate chips will make your fudge taste so much better. It really enhances the creamy texture and rich flavor!
- Watch the Heat: When melting the butter and chocolate, keep the heat low. If you rush it, you could end up with a grainy texture, and nobody wants that! Patience is key here.
- Stir Gently: Stirring too vigorously can cause the mixture to become grainy. Just a gentle stir until everything is smooth will do the trick!
- Don’t Skip the Salt: A little bit of salt goes a long way! It balances out the sweetness and enhances the flavors beautifully.
- Let It Chill: I know waiting can be tough, but chilling the fudge for at least 2 hours is essential for the perfect set. If you can, try to resist the urge to sneak a piece before it’s ready!
- Use Parchment Paper: Lining your dish with parchment paper not only helps with easy removal but also makes cutting those squares a breeze. Trust me, you’ll thank me later!
Follow these tips, and you’ll be well on your way to making the best white chocolate fudge ever! Enjoy the process and happy cooking!
Variations of White Chocolate Fudge
Oh, the possibilities with white chocolate fudge are endless! I absolutely love experimenting with different flavors and textures to jazz things up. Here are some fun variations you can try that’ll make your fudge even more exciting:
- Nuts Galore: Toss in some chopped nuts like walnuts, pecans, or almonds for a delightful crunch. I love the combo of white chocolate with toasted pecans—it’s simply divine!
- Fruity Fun: Add some dried fruits like cranberries, cherries, or apricots for a burst of flavor. They bring a nice chewiness that contrasts beautifully with the creamy fudge.
- Minty Fresh: For a refreshing twist, mix in a few drops of peppermint extract. Trust me, it’s like a winter wonderland in every bite!
- Coconut Bliss: Stir in some shredded coconut for a tropical vibe. It pairs perfectly with the sweetness of white chocolate and adds a lovely texture.
- Flavor Extracts: Experiment with different extracts like almond or raspberry to create unique flavor profiles. A hint of almond extract can take your fudge to a whole new level!
- Chocolate Swirl: Drizzle some melted dark or milk chocolate on top before it sets. Give it a gentle swirl with a toothpick for a beautiful marbled effect.
- Cookie Crumble: Crush up some of your favorite cookies and fold them into the fudge before it sets. Oreos or gingersnaps work wonders for added flavor and texture!
Don’t be afraid to get creative! Mix and match these ideas to suit your taste. The best part about making white chocolate fudge is that you can really make it your own. Happy experimenting!
Storage & Reheating Instructions
Once you’ve whipped up this delicious white chocolate fudge, you’ll want to make sure it stays fresh and tasty. Here’s how to properly store it:
- Keep It Airtight: Store your fudge in an airtight container in the fridge. This helps maintain its creamy texture and prevents it from absorbing any odors from the fridge.
- Refrigeration: When stored correctly, your fudge can last for up to two weeks in the refrigerator. But let’s be honest, it probably won’t last that long because it’s just so good!
- Freezing for Later: If you want to keep it even longer, you can freeze the fudge! Just wrap it tightly in plastic wrap and place it in a freezer-safe container. It’ll stay fresh for up to three months. When you’re ready to enjoy it, simply thaw it in the fridge overnight.
As for reheating, you typically won’t need to, since white chocolate fudge is best served chilled. However, if you want to soften it a bit for easier cutting or spreading, you can let it sit at room temperature for about 15–20 minutes before serving. Just be careful not to let it get too warm, or it might lose that lovely creamy texture!
So, there you have it! Follow these simple storage tips, and your white chocolate fudge will be ready to delight you whenever you need a sweet treat!
Nutritional Information
So, if you’re curious about the nutritional goodness of this white chocolate fudge, here’s a breakdown of what you can expect per serving (that’s one delicious square!). Keep in mind, these values are estimates based on standard ingredients:
- Calories: 120
- Fat: 7g
- Saturated Fat: 4g
- Unsaturated Fat: 2g
- Trans Fat: 0g
- Cholesterol: 15mg
- Sodium: 30mg
- Carbohydrates: 14g
- Fiber: 0g
- Sugar: 14g
- Protein: 1g
Remember, this fudge is a sweet treat, so enjoy it in moderation! It’s rich and creamy, making it a perfect indulgence for those special moments. Happy munching!
FAQ About White Chocolate Fudge
I know you might have some burning questions about making this white chocolate fudge, so let’s tackle a few common ones together. I’ve got your back, and I want to ensure your fudge turns out perfectly every time!
Can I use regular chocolate instead of white chocolate?
Absolutely! While the flavor will change, you can definitely use milk or dark chocolate instead. Just keep an eye on the melting process, as different chocolates can have varying melting points.
What if my fudge is too soft?
If your fudge turns out too soft, it might not have chilled long enough. No worries! Just pop it back in the fridge for a bit longer. If it’s still not setting, you can try adding a bit more chocolate and melting it down again to help firm it up.
How can I prevent my chocolate from seizing?
To avoid seizing, make sure your saucepan and utensils are completely dry. Even a tiny bit of water can cause the chocolate to clump up. Also, stick to low heat and stir gently to keep everything nice and smooth!
Can I add other flavors or ingredients?
Of course! Feel free to get creative! Add in some extracts, nuts, or dried fruits as you like. Just remember to adjust your quantities accordingly to maintain the right consistency.
How should I store any leftovers?
Store your fudge in an airtight container in the fridge. It’ll stay fresh for up to two weeks, but let’s be real—it probably won’t last that long because it’s too delicious!
Can I make the fudge ahead of time?
Definitely! This fudge is perfect for making in advance. Just prepare it, let it chill, and store it in the fridge until you’re ready to enjoy. It’s a great make-ahead treat for any occasion!
Why is my fudge grainy?
Grainy fudge usually means the chocolate was overheated or not melted gently enough. Make sure to melt slowly over low heat and stir gently to keep it smooth. If it does happen, you can try reheating it with a splash of milk to help smooth it out.
So there you go! I hope these FAQs help clear up any questions you have about making your very own white chocolate fudge. Remember, practice makes perfect, so don’t hesitate to experiment and find your own perfect fudge-making rhythm!
Print
White chocolate fudge: 7 creamy delights to savor
- Prep Time: 10 minutes
- Cook Time: 10 minutes
- Total Time: 2 hours 20 minutes
- Yield: 16 squares 1x
- Category: Dessert
- Method: Stovetop
- Cuisine: American
- Diet: Vegetarian
Description
Creamy white chocolate fudge that melts in your mouth.
Ingredients
- 2 cups white chocolate chips
- 1 can (14 oz) sweetened condensed milk
- 1/2 cup unsalted butter
- 1 teaspoon vanilla extract
- 1/4 teaspoon salt
Instructions
- Line an 8×8 inch baking dish with parchment paper.
- In a saucepan, melt butter over low heat.
- Add white chocolate chips and sweetened condensed milk. Stir until smooth.
- Remove from heat and stir in vanilla extract and salt.
- Pour the mixture into the prepared baking dish and spread evenly.
- Refrigerate for at least 2 hours until set.
- Cut into squares and serve.
Notes
- Store in an airtight container in the fridge.
- Add nuts or dried fruit for extra flavor.
- Use high-quality white chocolate for best results.
Nutrition
- Serving Size: 1 square
- Calories: 120
- Sugar: 14g
- Sodium: 30mg
- Fat: 7g
- Saturated Fat: 4g
- Unsaturated Fat: 2g
- Trans Fat: 0g
- Carbohydrates: 14g
- Fiber: 0g
- Protein: 1g
- Cholesterol: 15mg
Keywords: white chocolate fudge, dessert, sweets