
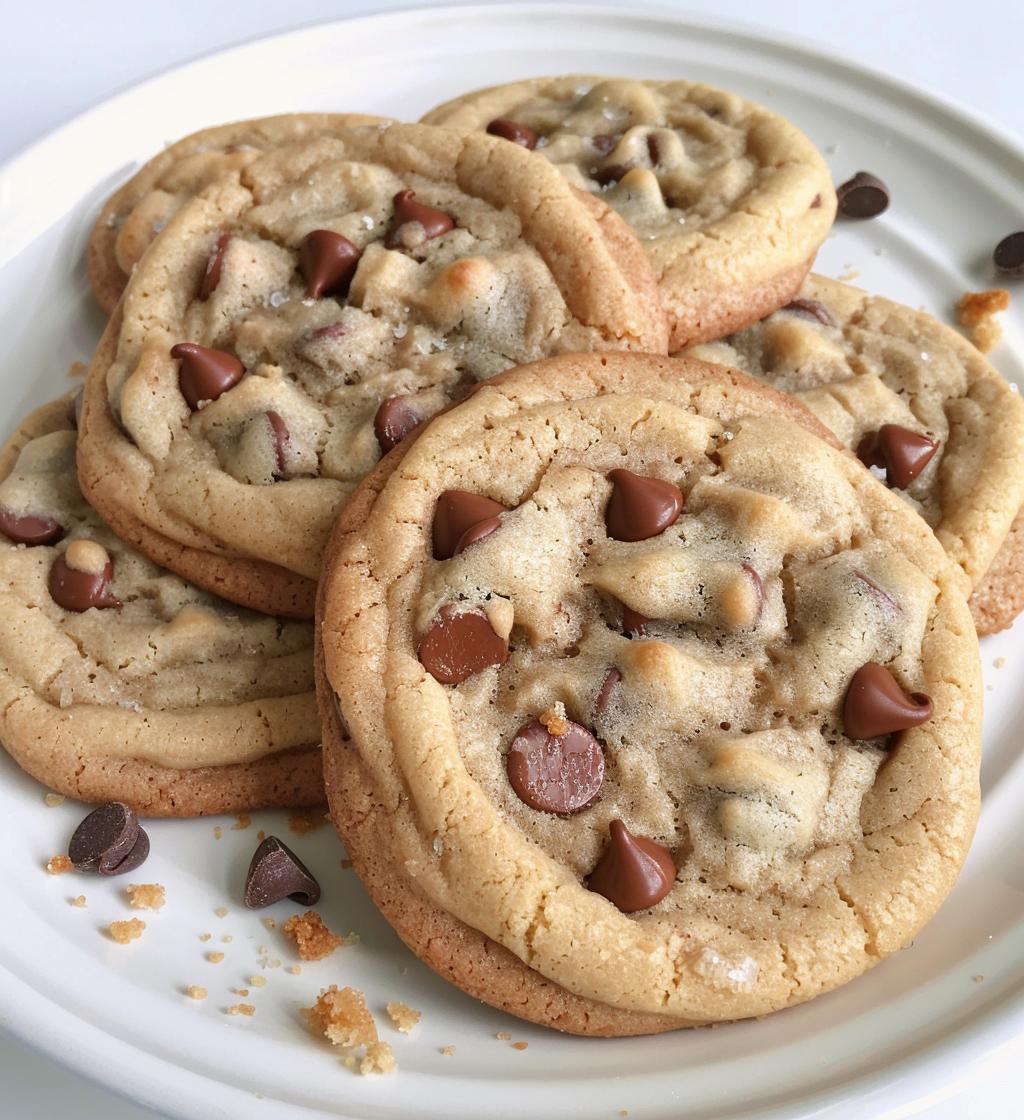
Oh, the joy of Christmas baking! There’s just something magical about filling your kitchen with the warm, sweet scents of festive treats. Whether it’s the sound of cookies baking or the joy of sharing them with loved ones, holiday baking is a cherished tradition that brings everyone together. I love how each recipe tells a story, wrapping us in the cozy spirit of the season. This collection of holiday baking recipes is sure to spark your creativity in the kitchen and fill your home with cheer. Trust me, you won’t want to miss out on these delicious delights that make Christmas even more special!
Ingredients for Christmas Baking
To create these delightful holiday cookies, you’ll need just a handful of simple ingredients. Each one plays a vital role in achieving that perfect festive flavor and texture. Here’s what you’ll need:
- 2 cups all-purpose flour – This is the base of your cookies, giving them structure.
- 1 cup granulated sugar – Sweetness is key, and this will help achieve that lovely golden color!
- 1/2 cup unsalted butter, softened – Make sure it’s softened so it blends smoothly with the sugar.
- 1 large egg – This will help bind all the ingredients together.
- 1 teaspoon vanilla extract – For that warm, aromatic flavor that screams holiday baking!
- 1 teaspoon baking powder – This will give your cookies that perfect rise.
- 1/2 teaspoon salt – Just a touch to enhance all those sweet flavors.
- 1 cup chocolate chips – Because who can resist gooey, melty chocolate in every bite?
Gather these ingredients, and you’ll be ready to dive into the joyous world of Christmas baking!
How to Prepare for Christmas Baking
Now that you’ve gathered all your ingredients, let’s dive into the fun part: the actual baking! I promise, following these steps will lead you to delicious, festive cookies that will have everyone asking for more. Just take it one step at a time, and you’ll be a Christmas baking superstar in no time!
Preheat the Oven
First things first: preheat your oven to 350°F (175°C). Preheating is super important because it ensures your cookies bake evenly. You don’t want to throw your dough into a cold oven and end up with unevenly baked cookies, right? So, let that oven warm up while you tackle the next steps!
Creaming the Butter and Sugar
Next, grab a mixing bowl and cream together the softened butter and granulated sugar. Use a hand mixer or a stand mixer for the best results. You want to mix it until it’s light and fluffy—think of a cloud! This usually takes about 2-3 minutes. Trust me, this step is crucial for getting that nice, tender texture in your cookies.
Mixing in Wet Ingredients
Now it’s time to add the egg and vanilla extract to your butter-sugar mixture. Crack the egg right in and pour in that lovely vanilla. Mix it all together until it’s well combined—don’t worry if it looks a bit curdled; it’ll come together once we add the dry ingredients!
Combining Dry Ingredients
In a separate bowl, combine the flour, baking powder, and salt. Whisk these together to ensure everything is evenly distributed. Mixing dry ingredients separately helps the baking powder activate properly, which leads to fluffier cookies. Trust me, the little things make a big difference!
Bringing It All Together
Now, it’s time to bring everything together! Gradually add the dry ingredients to the wet mixture, mixing until just combined. Be gentle here; overmixing can lead to tough cookies. Once you see no flour streaks, fold in those delicious chocolate chips with a spatula. Just gently scoop and turn until they’re evenly distributed in the dough.
Baking the Cookies
Using a spoon or cookie scoop, drop spoonfuls of dough onto a baking sheet lined with parchment paper. Make sure to leave some space between each cookie, as they’ll spread while baking. Pop them in the oven for about 10-12 minutes. You’ll know they’re ready when the edges are golden brown but the centers are still a bit soft. They’ll firm up as they cool, so don’t overbake!
Cooling and Serving
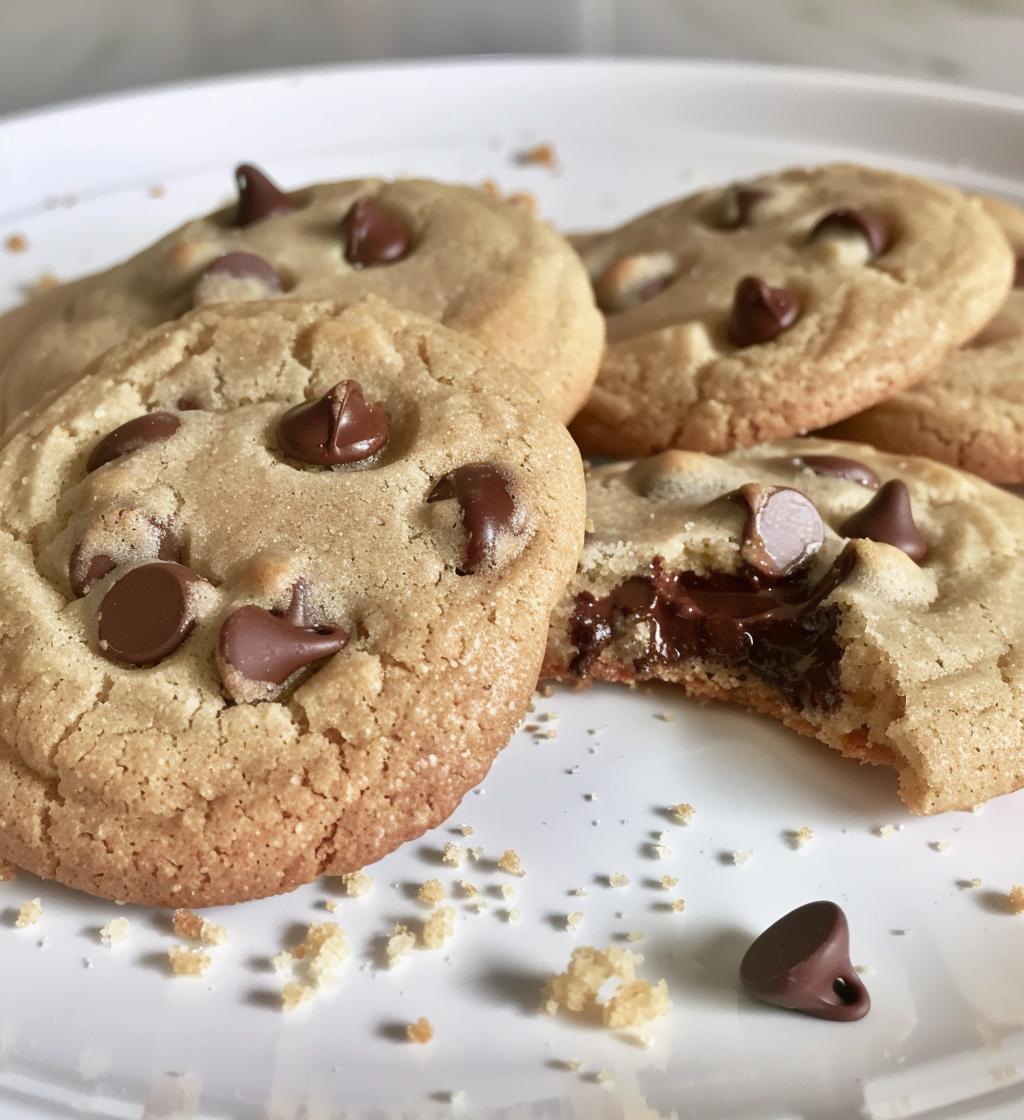
Once they’re out of the oven, let the cookies cool on the baking sheet for about 5 minutes before transferring them to a wire rack to cool completely. This cooling period is essential for achieving that perfect texture. And of course, feel free to enjoy a warm cookie right away—who can resist that gooey chocolate goodness? Serve them up on a festive plate, and watch everyone’s eyes light up. Enjoy your time in the kitchen, and happy baking!
Tips for Successful Christmas Baking
Alright, let’s make sure your Christmas baking is nothing short of spectacular! I’ve got some tried-and-true tips that will help you achieve the best results with your holiday cookies. Whether you’re a seasoned baker or just starting, these little nuggets of wisdom will elevate your baking game!
- Measure Your Ingredients Accurately: Baking is a science, so precise measurements are crucial. I always recommend using a kitchen scale for the most accurate results, especially for flour. Too much can lead to dry cookies!
- Chill Your Dough: If you have time, consider chilling your cookie dough for about 30 minutes before baking. This helps the flavors meld together and prevents the cookies from spreading too much. Trust me, it’s worth the wait!
- Experiment with Flavors: Don’t hesitate to swap out the chocolate chips for other mix-ins like dried cranberries, nuts, or even white chocolate! You can create a whole new flavor profile with just a simple substitution.
- Use Parchment Paper: Lining your baking sheets with parchment paper not only prevents sticking but also helps with even baking. It’s one of my favorite tricks to ensure the bottoms don’t burn!
- Know Your Oven: Every oven is different! If you find that your cookies are baking too quickly or slowly, adjust the time or temperature as needed. A simple oven thermometer can help you gauge the actual temperature inside.
- Don’t Skip the Cooling Rack: Allowing your cookies to cool on a wire rack is essential for maintaining their texture. It lets air circulate around them, preventing sogginess.
- Have Fun with Decorations: Get creative when it comes to decorating your cookies! Sprinkles, icing, or even a dusting of powdered sugar can add that festive touch. Let your imagination run wild!
- Share the Love: Baking is all about sharing! Pack some cookies in a festive tin or box to give as gifts. Your friends and family will appreciate the gesture, and it spreads the joy of the season!
By keeping these tips in mind, you’ll be well on your way to baking up a storm this holiday season. Happy baking, and may your kitchen be filled with delightful aromas and lots of laughter!
Why You’ll Love This Christmas Baking Recipe
- Quick and Easy: This recipe comes together in no time, making it perfect for last-minute holiday baking sessions!
- Deliciously Festive: The combination of chocolate chips and warm vanilla creates flavors that scream holiday cheer!
- Perfect for Sharing: With a yield of 24 cookies, these are great for gifting or sharing at holiday gatherings.
- Customizable: Feel free to switch up the mix-ins or even add spices like cinnamon for a unique twist that suits your taste!
- Family-Friendly: Everyone loves cookies, and this recipe is simple enough for kids to help out in the kitchen.
- Ideal for Holiday Traditions: Baking these cookies can become a cherished family tradition, bringing everyone together during the festive season.
Trust me, you’re going to love how easy and delightful these cookies are to make—and even more to eat! Happy baking!
Nutritional Information for Christmas Baking
Alright, let’s talk numbers! While I believe the true joy of Christmas baking comes from the love and warmth shared through delicious treats, it’s always good to know what you’re indulging in. Here’s an estimated breakdown of the nutritional information for each cookie, so you can enjoy them with a bit of awareness:
- Serving Size: 1 cookie
- Calories: 150
- Total Fat: 7g
- Saturated Fat: 4g
- Unsaturated Fat: 2g
- Trans Fat: 0g
- Cholesterol: 20mg
- Sodium: 50mg
- Total Carbohydrates: 20g
- Dietary Fiber: 1g
- Sugars: 10g
- Protein: 2g
Keep in mind that these values are estimates and can vary based on the specific ingredients you use. So, enjoy these cookies in moderation, savoring every melty chocolate bite. Happy baking and even happier indulging!
Frequently Asked Questions about Christmas Baking
I know you might have some questions swirling around in your mind as you embark on your Christmas baking adventure! Don’t worry; I’ve got you covered with answers to some of the most common queries. Let’s dive right in!
Can I use different types of chocolate chips?
Absolutely! Feel free to mix it up with semi-sweet, milk chocolate, or even white chocolate chips. You could also try adding dried fruit or nuts for a fun twist!
What if I don’t have a mixer?
No problem at all! You can cream the butter and sugar by hand using a sturdy spatula or wooden spoon. It might take a bit more elbow grease, but you’ll still get great results!
Can I freeze the cookie dough?
You bet! Just scoop the dough onto a baking sheet, freeze until solid, then transfer to a freezer bag. When you’re ready to bake, pop them straight into the oven without thawing—just add a minute or two to the baking time.
How do I know when my cookies are done?
Look for golden edges and a slightly soft center; they’ll firm up as they cool. If they look too doughy, give them another minute or two, but be careful not to overbake!
Can I use margarine instead of butter?
Yes, you can! Just make sure to use a stick margarine, as it has a similar water content to butter, which helps maintain the texture of your cookies.
What’s the best way to store my cookies?
Keep them in an airtight container at room temperature for up to a week. If you want to keep them fresher longer, you can freeze them in a single layer and then transfer to a bag once solid.
Can I make these cookies gluten-free?
Yes! You can substitute the all-purpose flour with a gluten-free baking blend. Just make sure it has xanthan gum included, or add some yourself to help with texture!
Why are my cookies spreading too much?
This can happen if your butter is too warm when mixing or if you didn’t chill your dough before baking. Make sure to chill the dough for about 30 minutes if you notice it’s too soft!
Can I double the recipe?
Of course! Just keep an eye on the baking time, as it may vary slightly if you’re baking multiple trays at once. Happy baking!
Storage Tips for Christmas Baking
Alright, so you’ve baked up a storm and your kitchen smells like a holiday wonderland! Now, let’s talk about how to store those delicious cookies to keep them fresh and tasty for as long as possible. Trust me, you want to savor every last bite!
First things first, make sure your cookies are completely cooled before storing them. If they’re still warm, they can create condensation in the container, which might lead to sogginess—yikes! Once they’re cool, here’s how to keep those festive treats in tip-top shape:
- Airtight Containers: Store your cookies in an airtight container at room temperature. This helps keep them soft and chewy. I love using glass jars or plastic containers with tight-fitting lids for this!
- Layering with Parchment: If you’re stacking cookies, place a sheet of parchment paper between layers. This prevents them from sticking together and keeps their shapes intact.
- Freezing for Future Cravings: If you want to save some for later (or just can’t resist baking a double batch), freeze them! Wrap each cookie individually in plastic wrap and then place them in a freezer bag. They’ll stay fresh for up to 2 months. When you’re ready to enjoy, just let them thaw at room temperature!
- Keep Away from Heat and Light: Store your cookies in a cool, dark place. Direct sunlight or heat can make them go stale faster. A pantry is usually a perfect spot!
- Don’t Mix Different Types: If you have different types of cookies, store them separately. For example, buttery cookies can absorb moisture from softer ones, which can change their texture. Keep your chocolate chip cookies in one container and your gingerbread in another!
By following these simple storage tips, you’ll ensure that your Christmas cookies stay fresh and delicious, ready to be enjoyed any time you’re craving a sweet holiday treat. Happy baking and happy storing!
Print
Christmas Baking Magic: 8 Joyful Tips to Savor Delights
- Prep Time: 15 minutes
- Cook Time: 12 minutes
- Total Time: 27 minutes
- Yield: 24 cookies 1x
- Category: Dessert
- Method: Baking
- Cuisine: American
- Diet: Vegetarian
Description
A festive collection of holiday baking recipes.
Ingredients
- 2 cups all-purpose flour
- 1 cup granulated sugar
- 1/2 cup unsalted butter, softened
- 1 large egg
- 1 teaspoon vanilla extract
- 1 teaspoon baking powder
- 1/2 teaspoon salt
- 1 cup chocolate chips
Instructions
- Preheat the oven to 350°F (175°C).
- Cream together butter and sugar until smooth.
- Add egg and vanilla, mixing well.
- In a separate bowl, combine flour, baking powder, and salt.
- Gradually add dry ingredients to the wet ingredients.
- Fold in chocolate chips.
- Drop spoonfuls of dough onto a baking sheet.
- Bake for 10-12 minutes or until golden.
- Let cool before serving.
Notes
- Store cookies in an airtight container.
- Use different types of chocolate chips for variety.
- Can substitute butter with margarine.
Nutrition
- Serving Size: 1 cookie
- Calories: 150
- Sugar: 10g
- Sodium: 50mg
- Fat: 7g
- Saturated Fat: 4g
- Unsaturated Fat: 2g
- Trans Fat: 0g
- Carbohydrates: 20g
- Fiber: 1g
- Protein: 2g
- Cholesterol: 20mg
Keywords: Christmas baking, holiday cookies, festive treats