
Oh, the joy of baking Christmas cookies! There’s just something magical about filling your kitchen with the warm, sweet scents of butter and sugar during the holiday season. I remember when I was a kid, my family would gather around the kitchen, rolling out dough and decorating each cookie with colorful sprinkles. It was a tradition that brought us all together, and now, I love passing that joy on! These Christmas cookies are not just delicious; they’re a canvas for creativity, whether you’re going for classic icing designs or a sprinkle explosion. Trust me, once you take a bite of these buttery, sweet treats, you’ll understand why they’re a holiday must-have. Let’s get baking!
Ingredients List
- 2 cups all-purpose flour
- 1 cup granulated sugar
- 1 cup unsalted butter, softened to room temperature
- 1 large egg
- 1 teaspoon vanilla extract
- 1 teaspoon baking powder
- 1/2 teaspoon salt
- 1 cup powdered sugar for decoration
- Sprinkles for decoration
How to Prepare Instructions
Preparing the Dough
First things first, let’s get that oven preheating to 350°F (175°C)! You want it nice and warm for those cookies to bake perfectly. Now, grab a large mixing bowl and cream together the softened butter and granulated sugar until it’s smooth and fluffy. This usually takes about 2-3 minutes, and trust me, you really want to take your time here—this is where the magic begins! Once that’s done, add in the large egg and vanilla extract, mixing well until everything is combined.
In a separate bowl, mix together the all-purpose flour, baking powder, and salt. Gradually add this dry mixture to your wet ingredients, stirring gently. You want to be careful not to overmix; just combine until you see no more flour! This dough is going to be your canvas for the most delightful Christmas cookies!
Shaping and Baking
Now it’s time to shape those cookies! Roll the dough into small balls, about 1 inch in diameter, and place them on a baking sheet lined with parchment paper. Make sure to leave some space between each ball, as they will spread out while baking. Pop them into your preheated oven and bake for 10-12 minutes, or until they’re lightly golden around the edges. The centers might look a bit soft, but don’t worry—they’ll firm up as they cool!
Decorating the Cookies
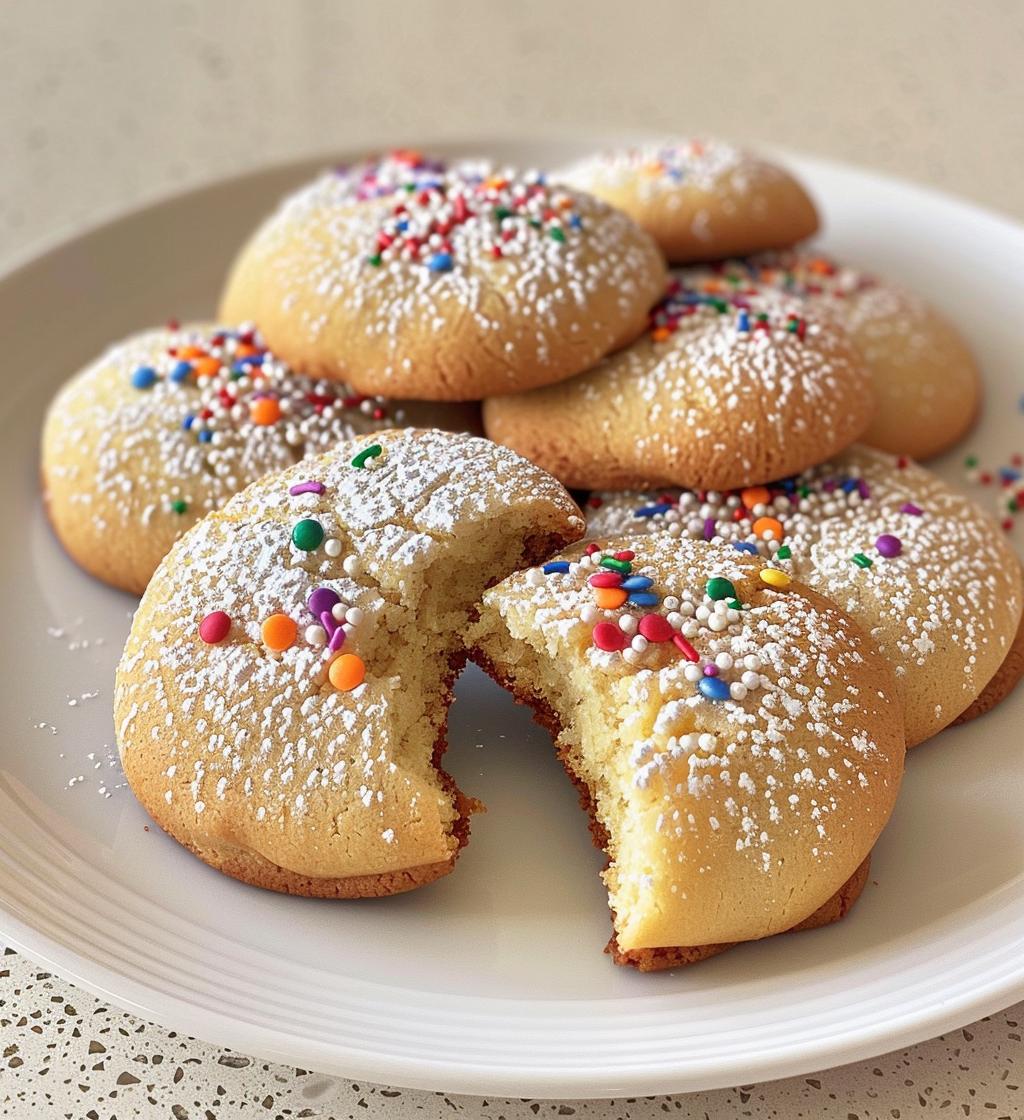
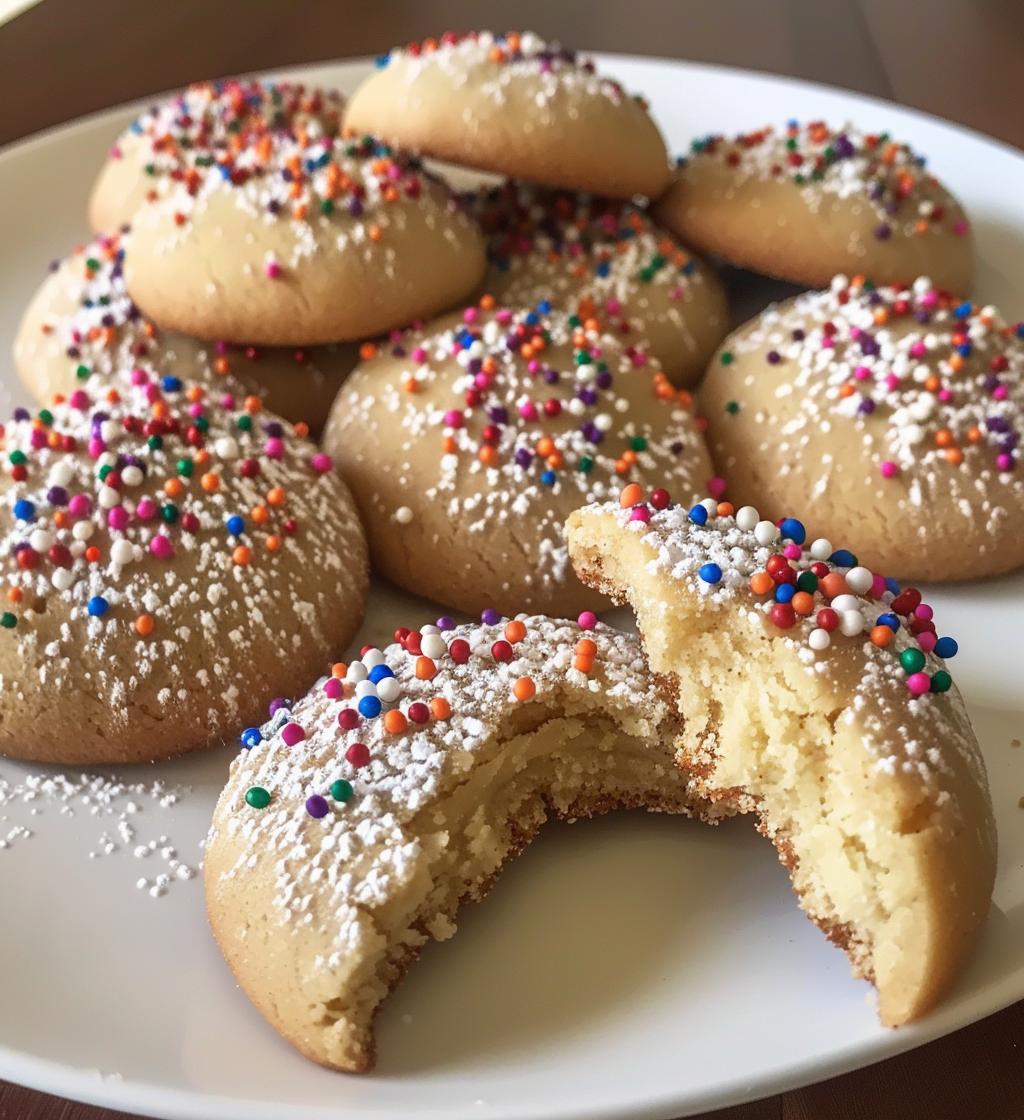
Once your cookies are out of the oven, let them cool on the baking sheet for a few minutes before transferring them to a wire rack. This cooling step is super important because it helps the cookies set perfectly! After they’ve cooled completely, it’s time for the fun part: decorating! Dust each cookie with powdered sugar and sprinkle on those festive sprinkles. You can get creative here—use different colors or shapes to make each cookie unique! Just look at those beauties; they’re sure to bring a smile to anyone who sees (and tastes) them!
Why You’ll Love This Recipe
- Quick and easy to make, perfect for busy holiday schedules.
- Requires simple ingredients you probably already have in your pantry.
- Deliciously buttery and sweet, making them a hit with everyone!
- Customizable with various decorations—let your creativity shine!
- Ideal for sharing with family and friends during the festive season.
- Perfect for holiday parties, cookie exchanges, or cozy nights at home.
- They fill your kitchen with delightful, mouthwatering aromas.
- Great for creating lasting memories with loved ones in the kitchen.
Tips for Success
Alright, let’s make sure your Christmas cookies turn out absolutely perfect! Here are some of my best tips to help you on your baking journey:
- Room Temperature Ingredients: Make sure your butter is softened to room temperature! This helps it cream better with the sugar, leading to a fluffier cookie. If you forget to take it out ahead of time, you can microwave it briefly (10 seconds at a time) just to soften it, but be careful not to melt it!
- Don’t Overmix: When you combine the flour mixture with the wet ingredients, mix just until you see no more flour. Overmixing can lead to tough cookies, and we want them to be soft and tender!
- Chill the Dough (Optional): If you have the time, chilling the dough for about 30 minutes before rolling can help the cookies maintain their shape while baking. Plus, it gives the flavors a chance to meld!
- Check for Doneness: Keep an eye on them as they bake! Ovens can vary, so while the timer says 10-12 minutes, they might be ready just a minute or two earlier. Look for that lovely golden edge but a slightly soft center.
- Experiment with Flavors: Feel free to add in some festive spices like cinnamon or nutmeg for a little extra holiday spirit. A dash of almond extract can also elevate the flavor beautifully!
- Decorate While Fresh: Decorate your cookies once they’ve cooled completely, but still slightly warm, for better adherence of powdered sugar and sprinkles. They’ll look even more inviting!
- Store Wisely: Keep your cookies in an airtight container to maintain their freshness. If you’re making them ahead of time, you can freeze them as well. Just layer them with parchment paper to prevent sticking!
With these tips, you’ll be well on your way to baking up a storm of delicious Christmas cookies that everyone will adore. Happy baking!
Storage & Reheating Instructions
To keep your Christmas cookies fresh and delightful, it’s all about proper storage! Once your cookies have completely cooled, store them in an airtight container. This will prevent them from becoming stale and help them retain that wonderful buttery flavor. I usually layer parchment paper between the cookies if I’m stacking them to avoid any sticking—no one likes a cookie disaster!
If you’re planning to make a big batch (which I highly recommend!), you can freeze them for up to 3 months. Just make sure they’re fully cooled first, then wrap each cookie individually in plastic wrap or place them in a freezer-safe bag. You can also freeze the dough itself! Just roll it into balls and freeze on a baking sheet before transferring to a bag. When you’re ready to bake, pop them straight from the freezer onto a baking sheet and add a couple of extra minutes to the baking time.
If you want to enjoy them warm, reheat the cookies in the microwave for about 10-15 seconds. Just be careful not to overdo it—nobody wants a rubbery cookie! Alternatively, you can place them in a preheated oven at 350°F (175°C) for about 5 minutes. This will bring back that freshly baked warmth and soft texture that makes these Christmas cookies so irresistible!
Nutritional Information
When it comes to enjoying Christmas cookies, it’s always nice to have a little insight into the nutritional content! Here’s an estimated breakdown per cookie:
- Calories: 150
- Fat: 7g
- Saturated Fat: 4g
- Unsaturated Fat: 2g
- Trans Fat: 0g
- Cholesterol: 30mg
- Sodium: 50mg
- Carbohydrates: 20g
- Sugar: 10g
- Fiber: 0g
- Protein: 2g
Keep in mind that these values are estimates and can vary based on specific ingredients and portion sizes. So, while you indulge in these delightful treats, just remember to enjoy them in moderation and savor every bite!
FAQ Section
Got questions about Christmas cookies? Don’t worry, I’ve got you covered! Here are some common queries and my best answers to help you navigate your baking adventure:
Can I use whole wheat flour instead of all-purpose flour?
Absolutely! You can substitute whole wheat flour for all-purpose flour, but keep in mind that it may result in a denser cookie. I usually recommend using half whole wheat and half all-purpose for a nice balance!
What can I use instead of butter?
If you need a dairy-free option, you can substitute unsalted butter with coconut oil or a vegan butter alternative. Just make sure it’s softened to get that creamy texture when mixing!
Can I add chocolate chips to the dough?
Oh, heck yes! Chocolate chips make everything better. Just fold in about a cup of your favorite chocolate chips after you’ve mixed the dough. They’ll add a delightful surprise in every bite!
Why did my cookies spread too much?
Oh no, cookie disasters! If your cookies spread too much, it could be because your butter was too warm or you didn’t chill the dough. Make sure to use softened butter, and if you notice it’s too warm, pop the dough in the fridge for about 30 minutes before baking.
Can I make these cookies ahead of time?
Definitely! You can bake them ahead and store them as mentioned above, or you can prepare the dough and freeze it. Just roll into balls and freeze for a quick bake whenever you need a holiday treat!
What’s the best way to decorate my cookies?
For a simple yet festive look, I love dusting with powdered sugar and adding colorful sprinkles. If you want to get fancy, you can melt some chocolate and drizzle it over the top or use royal icing for detailed designs. Get creative—there’s no wrong way to decorate!
Can I use less sugar?
Sure thing! You can adjust the sugar to your liking, but remember that sugar also helps with texture and browning. I’d recommend reducing it by a quarter at first and seeing how you like it!
If you have any other questions or need further advice on your Christmas cookie journey, just let me know! Happy baking, and may your cookies be merry and bright!
Serving Suggestions
When it comes to enjoying your delightful Christmas cookies, pairing them with the right treats can elevate the whole experience! Here are some of my favorite serving suggestions that’ll make your holiday gatherings even more special:
- Hot Cocoa: There’s nothing like a warm mug of hot cocoa alongside your cookies. You can even top it with whipped cream and a sprinkle of cocoa powder for added indulgence!
- Eggnog: For a festive twist, serve your cookies with some classic eggnog. The creamy, rich flavor pairs perfectly with the sweetness of the cookies.
- Milk: A good ol’ glass of milk is timeless with cookies! Whether you prefer whole, almond, or oat milk, it’s a comforting combination that everyone loves.
- Fruit Platter: Balance out the sweetness with a fresh fruit platter. Citrus fruits like oranges or tangerines add a nice, zesty contrast that complements the rich flavors of the cookies.
- Cheese Board: For something a little different, consider creating a cheese board with assorted cheeses, nuts, and dried fruits. The savory elements can really bring out the sweetness of your cookies!
- Other Desserts: If you’re feeling adventurous, serve your cookies alongside other holiday desserts like peppermint brownies or gingerbread men for a sweet dessert spread that guests will adore!
With these serving suggestions, your Christmas cookies will steal the show at any holiday gathering! Enjoy the warmth, laughter, and delicious flavors that come with sharing these treats with loved ones. Happy feasting!
Print
Christmas Cookies: 7 Magical Tips for Holiday Bliss
- Prep Time: 20 minutes
- Cook Time: 12 minutes
- Total Time: 32 minutes
- Yield: 24 cookies 1x
- Category: Dessert
- Method: Baking
- Cuisine: American
- Diet: Vegetarian
Description
Delicious Christmas cookies perfect for the holiday season.
Ingredients
- 2 cups all-purpose flour
- 1 cup granulated sugar
- 1 cup unsalted butter, softened
- 1 large egg
- 1 teaspoon vanilla extract
- 1 teaspoon baking powder
- 1/2 teaspoon salt
- 1 cup powdered sugar for decoration
- Sprinkles for decoration
Instructions
- Preheat your oven to 350°F (175°C).
- In a bowl, cream together the butter and sugar until smooth.
- Add the egg and vanilla extract, mixing well.
- In another bowl, combine flour, baking powder, and salt.
- Gradually add the dry ingredients to the wet mixture.
- Roll dough into small balls and place them on a baking sheet.
- Bake for 10-12 minutes or until lightly golden.
- Let the cookies cool before decorating with powdered sugar and sprinkles.
Notes
- Store cookies in an airtight container.
- These cookies can be frozen for up to 3 months.
- Adjust the sweetness by adding more or less sugar.
Nutrition
- Serving Size: 1 cookie
- Calories: 150
- Sugar: 10g
- Sodium: 50mg
- Fat: 7g
- Saturated Fat: 4g
- Unsaturated Fat: 2g
- Trans Fat: 0g
- Carbohydrates: 20g
- Fiber: 0g
- Protein: 2g
- Cholesterol: 30mg
Keywords: Christmas cookies