
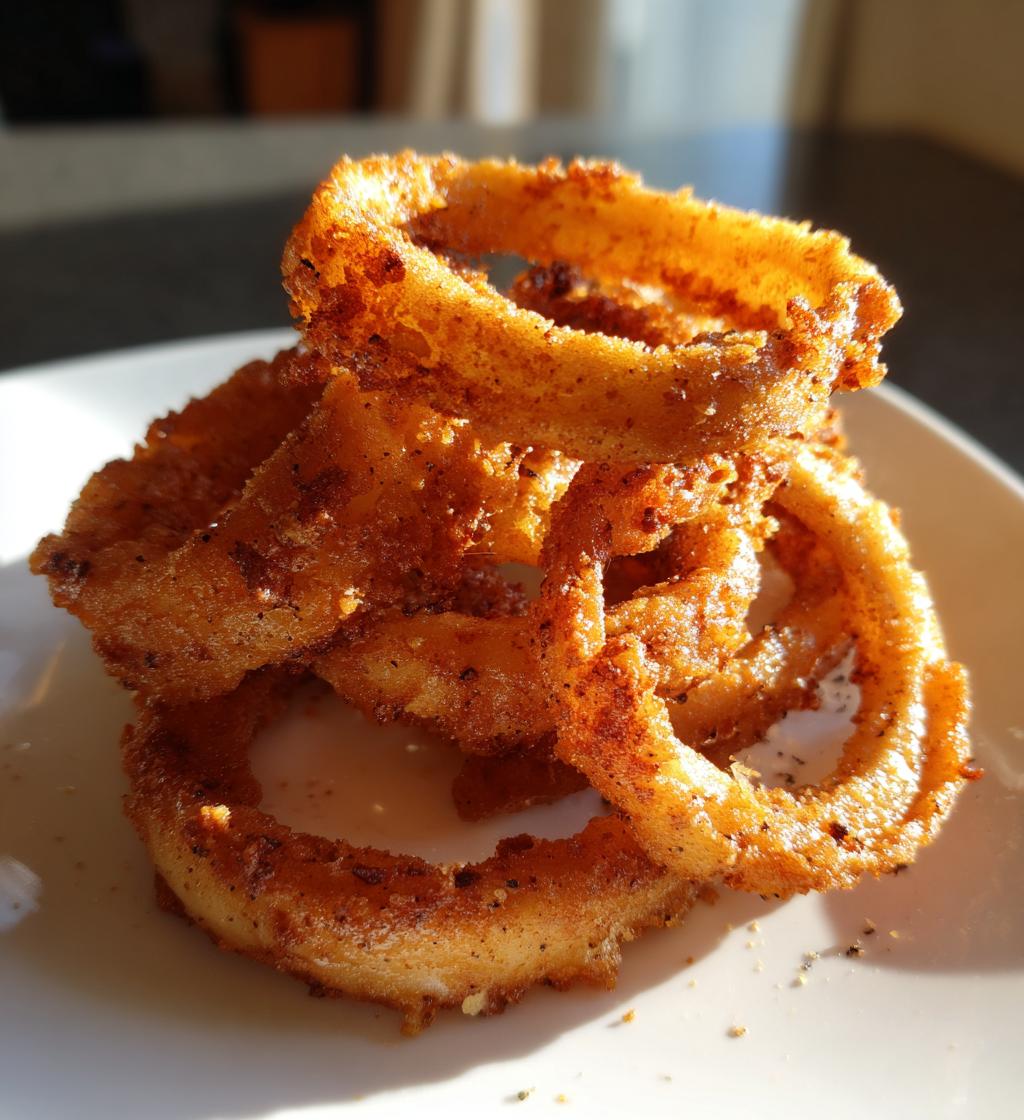
Oh my goodness, let’s talk about crispy onion rings! They’re like little golden halos of happiness that just scream “snack time!” I don’t know about you, but there’s something about that crunchy exterior and sweet, tender onion inside that makes my taste buds do a happy dance. It’s no wonder they’re a beloved treat at fairs, burger joints, and even at home. Trust me, making your own crispy onion rings is easier than you think! With just a few simple ingredients and steps, you can whip up a batch that’s perfect for munching while watching a movie or serving at your next gathering. And the best part? You get to control the seasonings and make them just how you like them. Let’s dive into this deliciousness together!
Ingredients for Crispy Onion Rings
- 2 large onions, peeled and sliced into rings
- 1 cup all-purpose flour
- 1 cup breadcrumbs
- 1 teaspoon baking powder
- 1 teaspoon salt
- 1/2 teaspoon pepper
- 1 cup cold water
- Oil for frying
These ingredients are all you need to create those irresistible crispy onion rings! When you’re slicing the onions, aim for about 1/4 inch thickness; this helps them fry up perfectly without being too chewy. And don’t skimp on the cold water in the batter—it’s the secret to that crunchy, crispy texture we all crave. Ready? Let’s keep rolling into the fun part—making them!
How to Prepare Crispy Onion Rings
Alright, let’s get our hands a little messy and dive into the joy of making crispy onion rings! Trust me, this part is where the magic happens, and you’ll be snacking on these delicious rings in no time. Follow these steps, and I promise you’ll be in crispy heaven!
Step 1: Prepare the Onions
First things first, let’s peel those onions! Grab your two large onions and peel them until they’re nice and clean. Now, slice them into rings, aiming for about 1/4 inch thick. This thickness is just right—too thick, and they won’t fry properly; too thin, and they might burn. You want that perfect bite where the onion is tender but still has a nice crunch. Set those lovely rings aside and let’s move on!
Step 2: Make the Batter
In a mixing bowl, combine the all-purpose flour, baking powder, salt, and pepper. Give it a good stir to blend everything together! Now, here’s where it gets fun—slowly add in that cold water. The colder, the better! This is the secret to achieving that ultra-crispy batter. Mix until you get a smooth, thick consistency. It should coat the back of a spoon nicely but not be too runny. You’re doing great so far!
Step 3: Coat the Onion Rings
Now, let’s get those onion rings dressed! Take each ring and dip it into the batter, making sure it’s fully coated. Don’t forget to let the excess batter drip off before moving to the next step. Once coated, roll each ring in the breadcrumbs until they’re nicely covered. This gives them that crunchy exterior we all love. Make sure each ring has a good layer of breadcrumbs for maximum crunch. You’re almost there!
Step 4: Fry the Onion Rings
Time to fry! Heat oil in a deep pot over medium heat until it’s hot—about 350°F (175°C) is perfect. You can test if it’s ready by dropping in a breadcrumb; if it sizzles, you’re good to go! Carefully place a few coated onion rings into the hot oil, making sure not to overcrowd the pot. Fry them for about 2-3 minutes or until they turn a beautiful golden brown. Just keep an eye on them—they can brown quickly!
Step 5: Serve the Onion Rings
Once they’re golden and crispy, use a slotted spoon to remove the onion rings and let them drain on paper towels. This helps soak up any excess oil. Serve them hot, and if you’re feeling adventurous, try pairing them with your favorite dips like ranch or spicy ketchup. They’re best enjoyed fresh, but good luck keeping them around that long!
Why You’ll Love This Recipe
- Absolutely delicious with a perfectly crispy coating that satisfies your crunch cravings!
- Simple ingredients that you probably already have in your pantry—no fancy stuff here!
- Quick to whip up, so you can go from kitchen to snack time in just about 25 minutes!
- Perfect for sharing at parties, game nights, or just as a tasty treat for yourself.
- Customizable! You can easily mix in your favorite spices or even try different dipping sauces.
- Vegetarian-friendly, making them a great option for everyone at the table.
- They pair wonderfully with burgers, sandwiches, or just enjoyed on their own—so versatile!
Tips for Success
Alright, before you dive into frying those onion rings, here are some of my top tips to ensure you get the crispiest, most delicious results every time!
- Oil Temperature Matters: Make sure your oil is hot enough—around 350°F (175°C) is ideal. If it’s not hot enough, your onion rings will absorb too much oil and become greasy. If it’s too hot, they might burn before cooking through. A little test with a breadcrumb can save the day!
- Fresh Ingredients: Use fresh onions and keep your batter ingredients in good shape. Freshness really makes a difference in flavor and texture. Trust me, you’ll taste it!
- Don’t Overcrowd the Pot: Fry the onion rings in small batches. If you add too many at once, it can lower the oil temperature and lead to soggy rings. Let them fry freely for that perfect golden crunch!
- Experiment with Spices: Feel free to get creative! Add your favorite spices like paprika, garlic powder, or cayenne to the batter for an extra kick. You can customize these rings to suit your taste!
- Let Them Drain: After frying, always let the onion rings drain on paper towels. This step is crucial to removing excess oil and keeping them crispy. Nobody wants soggy rings!
- Serve Immediately: These are best enjoyed fresh out of the fryer. If you’re making a big batch, keep them warm in the oven while you finish frying the rest.
With these tips in your back pocket, you’ll be a crispy onion ring pro in no time! Enjoy the process and savor every crunchy bite!
Variations of Crispy Onion Rings
Now that you’ve got the classic crispy onion rings down, let’s talk about how to switch things up a bit! There are so many fun ways to customize this recipe and give it your unique twist. Trust me, your taste buds will thank you!
- Different Onions: While yellow onions are a classic choice, don’t be afraid to experiment with red onions for a sweeter flavor or even sweet Vidalia onions for a melt-in-your-mouth treat. Each type of onion brings its own unique taste and sweetness!
- Spiced Up Batter: Want to kick it up a notch? Add spices like smoked paprika, cayenne pepper, or even a hint of curry powder to your batter for a flavorful punch. The extra spices not only enhance the taste but also add a lovely color!
- Beer Batter: For a lighter, crispier texture, try swapping some of the cold water for beer in your batter. This gives a delightful crunch and an amazing flavor that pairs perfectly with the onion rings. Trust me, it’s a game changer!
- Cheesy Onion Rings: Mix in some grated Parmesan or cheddar cheese into the breadcrumbs before coating your onion rings. This adds a cheesy goodness that takes them to the next level. Who doesn’t love cheesy snacks?
- Herb Infusion: Add dried herbs like oregano, thyme, or basil to the breadcrumbs or batter for an aromatic twist. It infuses the onion rings with delicious flavors that are so inviting!
- Sweet and Spicy: Drizzle some honey or a sweet chili sauce over your fried onion rings for a sweet and spicy combo. It’s an unexpected treat that adds a delightful contrast to the savory crunch!
With these variations, you can easily make crispy onion rings that suit your mood or occasion. Get creative and have fun experimenting—each version is bound to be a hit!
Storage & Reheating Instructions
If you’re lucky enough to have some crispy onion rings left over (which is rare, let’s be honest!), storing them properly is key to keeping that delightful crunch. Here’s how I do it:
First, let the onion rings cool completely at room temperature. This helps prevent them from getting soggy in storage. Once cooled, you can place them in an airtight container. I like to separate layers with parchment paper to keep them from sticking together. They’ll stay fresh in the fridge for up to 2 days, but trust me, they’re best enjoyed right after frying!
Now, when it comes to reheating, you want to revive that crispy texture. I recommend using the oven instead of the microwave, as the microwave can make them soft and sad. Preheat your oven to 375°F (190°C) and spread the leftover onion rings in a single layer on a baking sheet. Bake them for about 10-15 minutes or until they’re heated through and crispy again. If you’re feeling a bit fancy, you can even give them a quick spritz of cooking spray for added crunch!
And voilà! You’ll have delicious, crispy onion rings that taste almost as good as fresh out of the fryer. Just remember, the sooner you eat them, the better they’ll be! Enjoy every last crunchy bite!
Nutritional Information
Before you dive into those delicious crispy onion rings, it’s good to know what you’re munching on! Keep in mind that the nutritional values can vary based on the specific ingredients you use and portion sizes. But here’s a general estimate to guide you:
- Serving Size: 5 rings
- Calories: 300
- Total Fat: 15g
- Saturated Fat: 1g
- Unsaturated Fat: 14g
- Trans Fat: 0g
- Cholesterol: 0mg
- Sodium: 400mg
- Total Carbohydrates: 38g
- Dietary Fiber: 2g
- Sugars: 2g
- Protein: 5g
These crispy onion rings can be a delightful treat, but like with all fried foods, moderation is key. Enjoy them as a fun snack, and don’t hesitate to share with friends or family—after all, they taste even better when shared! Happy snacking!
Frequently Asked Questions
Can I bake these onion rings instead of frying them?
Absolutely! While frying gives that classic crispy texture, you can bake them for a healthier option. Preheat your oven to 425°F (220°C), place the coated onion rings on a baking sheet lined with parchment paper, and spray them lightly with cooking oil. Bake for about 15-20 minutes, flipping halfway through, until they’re golden and crispy. They won’t be quite the same as fried, but they’ll still be delicious!
What type of onion is best for onion rings?
I love using yellow onions for their perfect balance of sweetness and flavor, but you can also try red onions for a slightly sweeter taste or even sweet Vidalia onions for a treat that melts in your mouth. Each type brings its own unique flair to your rings!
How can I make my onion rings extra crispy?
Great question! To get that ultra-crispy texture, ensure your batter is cold when you dip the onion rings. Also, using a double-coating method—dipping them in the batter, letting it set, and then coating them again in breadcrumbs—can really amp up the crunch factor. And don’t forget, frying in hot oil is key!
Can I use a different type of flour?
Sure thing! While all-purpose flour is the go-to for these crispy onion rings, you can experiment with other flours like rice flour or even chickpea flour for a gluten-free option. Just keep in mind that the texture might change a bit, but it’s all about finding what works for you!
What dips pair well with onion rings?
Oh, there are so many delicious options! Classic ketchup is always a hit, but don’t shy away from ranch dressing, spicy mayo, or even a tangy barbecue sauce. For something different, try a garlic aioli or a zesty chipotle dip. The possibilities are endless, and they make your crispy onion rings even more irresistible!

Crispy Onion Rings: 7 Steps to Crunchy Perfection
- Prep Time: 15 minutes
- Cook Time: 10 minutes
- Total Time: 25 minutes
- Yield: 4 servings 1x
- Category: Snack
- Method: Deep frying
- Cuisine: American
- Diet: Vegetarian
Description
Crispy onion rings are a popular snack made from sliced onions coated in a crunchy batter and deep-fried.
Ingredients
- 2 large onions
- 1 cup all-purpose flour
- 1 cup breadcrumbs
- 1 teaspoon baking powder
- 1 teaspoon salt
- 1/2 teaspoon pepper
- 1 cup cold water
- Oil for frying
Instructions
- Peel and slice the onions into rings.
- In a bowl, mix flour, baking powder, salt, and pepper.
- Add cold water to the flour mixture to form a batter.
- Dip each onion ring into the batter, then coat with breadcrumbs.
- Heat oil in a deep pot over medium heat.
- Fry the onion rings until golden brown, about 2-3 minutes.
- Remove and drain on paper towels.
- Serve hot.
Notes
- Use cold water for a crispier batter.
- Adjust salt and pepper to taste.
- Try adding spices for extra flavor.
Nutrition
- Serving Size: 5 rings
- Calories: 300
- Sugar: 2g
- Sodium: 400mg
- Fat: 15g
- Saturated Fat: 1g
- Unsaturated Fat: 14g
- Trans Fat: 0g
- Carbohydrates: 38g
- Fiber: 2g
- Protein: 5g
- Cholesterol: 0mg
Keywords: Crispy Onion Rings, Snack, Fried Food