
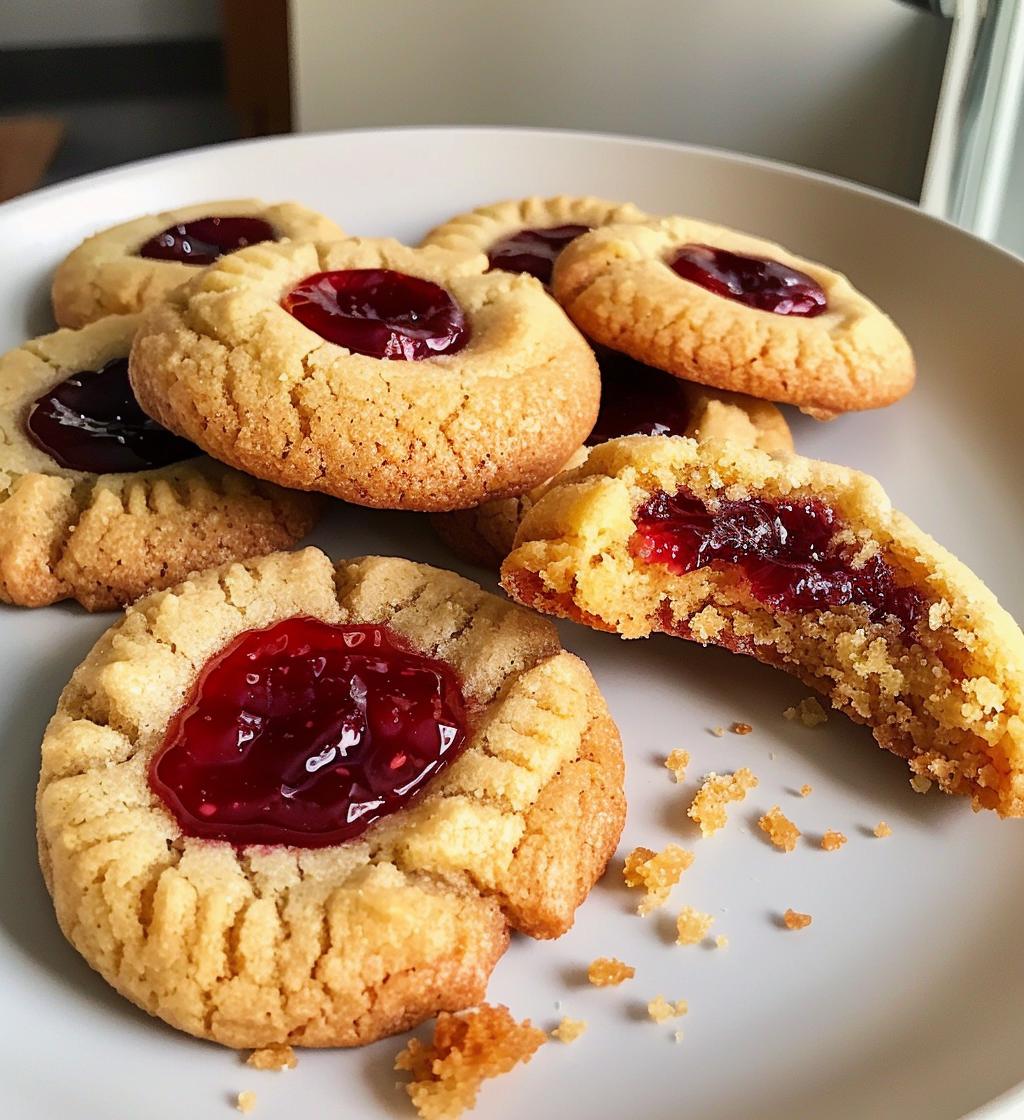
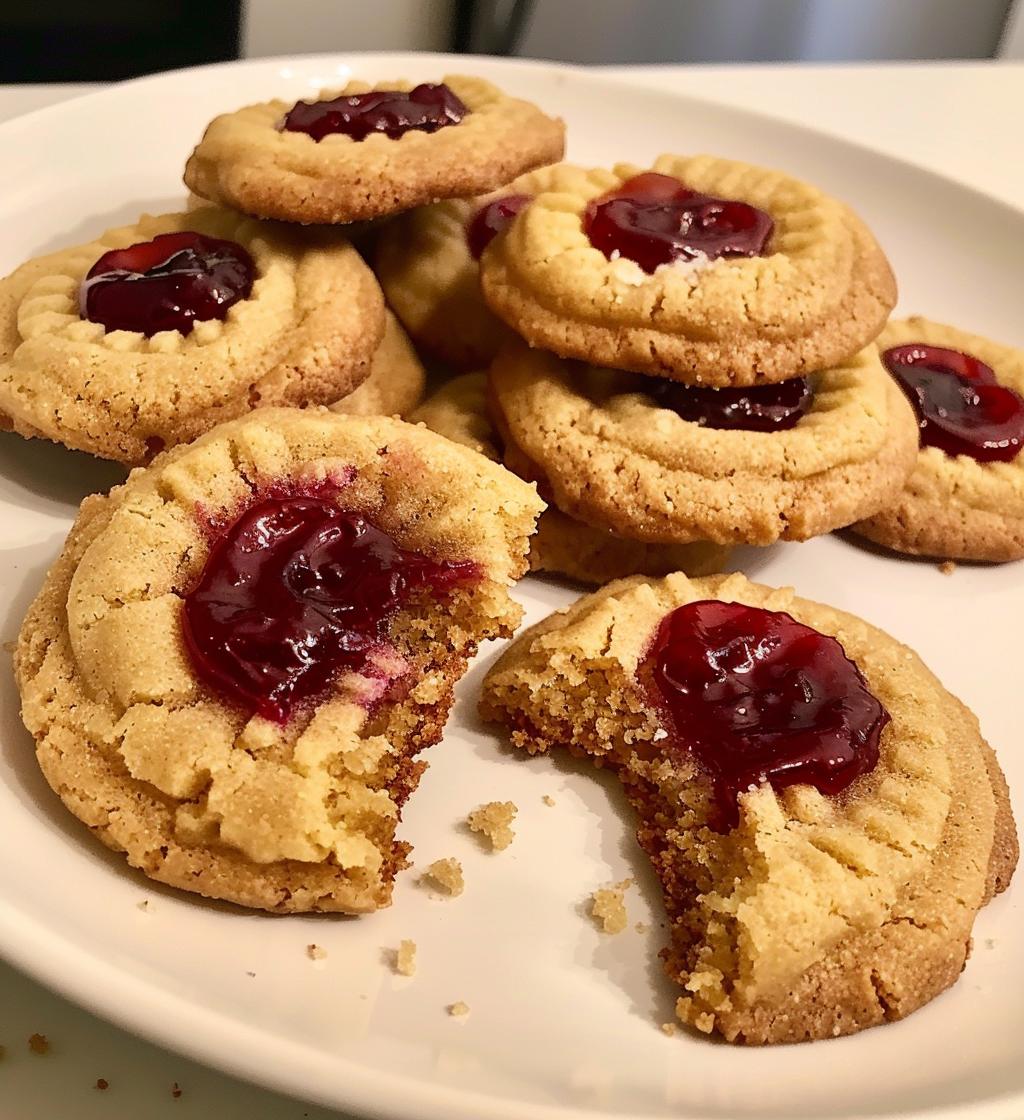
Oh, let me tell you about the first time I made thumbprint cookies! It was a rainy afternoon, and I was craving something sweet, so I decided to dive into my treasure trove of recipes. The moment I pulled those buttery, jam-filled delights out of the oven, my whole kitchen was filled with the most comforting aroma. I remember sharing them with my family, and their faces lit up with joy after the first bite. That’s the magic of thumbprint cookies! They’re not just cookies; they’re little bites of happiness that bring people together. Trust me, once you try making them, you’ll be hooked just like I was!
Ingredients List
- 1 cup unsalted butter, softened
- 1/2 cup granulated sugar
- 1/2 cup packed brown sugar
- 1 teaspoon vanilla extract
- 2 cups all-purpose flour
- 1/2 teaspoon salt
- 1 cup fruit jam of your choice
How to Prepare Thumbprint Cookies
Making thumbprint cookies is a delightful experience, and I promise it’s simpler than you might think! First, you’ll want to preheat your oven to 350°F (175°C) to get it nice and toasty. While that’s happening, grab a mixing bowl and cream together the softened butter, granulated sugar, and brown sugar until it’s light and fluffy. This step is crucial for that dreamy texture, so don’t rush it!
Next, stir in the vanilla extract, and then gradually add the flour and salt. Mix just until everything is combined. Now, here comes the fun part! Shape the dough into small balls—about one inch in diameter—and place them on a baking sheet lined with parchment paper. Use your thumb (or the end of a wooden spoon if you prefer) to make a little indent in the center of each ball. This is where the jam will go, so make sure it’s deep enough!
Fill each indent with your favorite fruit jam, then pop the baking sheet into the oven. Bake for 12-15 minutes until the edges are lightly golden. Let those beauties cool on the baking sheet for a few minutes before transferring them to a wire rack. And voila, you’ve got thumbprint cookies ready to enjoy!
Step-by-Step Instructions
- Preheat your oven to 350°F (175°C).
- In a bowl, cream the softened butter, granulated sugar, and packed brown sugar together until light and fluffy.
- Add in the vanilla extract and mix well.
- Gradually incorporate the flour and salt into the butter mixture, mixing until just combined.
- Shape the dough into small balls (about 1 inch) and place on a lined baking sheet.
- Make an indent in each ball using your thumb, creating a small well.
- Fill each indent with your chosen fruit jam.
- Bake for 12-15 minutes, or until the edges are lightly golden.
- Allow cookies to cool on the baking sheet for a few minutes before transferring to a wire rack to cool completely.
Nutritional Information
Now, I always say that enjoying your thumbprint cookies is all about balance, right? Just keep in mind that these nutritional values can vary depending on the specific ingredients and brands you use. But here’s a typical breakdown for one delicious cookie:
- Calories: 120
- Fat: 8g
- Saturated Fat: 5g
- Unsaturated Fat: 3g
- Trans Fat: 0g
- Cholesterol: 30mg
- Sodium: 50mg
- Carbohydrates: 12g
- Fiber: 0g
- Sugar: 10g
- Protein: 1g
So, whether you’re enjoying them as a treat or sharing them with loved ones, these cookies can definitely fit into your dessert plans! Just don’t forget to savor every bite!
Why You’ll Love This Recipe
- Irresistible Flavor: The buttery cookie combined with your favorite jam creates a perfect sweet and tangy balance that’s hard to resist!
- Super Easy to Make: With just a few simple steps, you can whip up a batch of thumbprint cookies in no time. It’s a great recipe for both novice and experienced bakers!
- Versatile Jam Options: You can use any jam you love—strawberry, raspberry, apricot, or even chocolate spread. The possibilities are endless!
- Perfect for Any Occasion: Whether it’s a holiday gathering, a birthday party, or just a cozy night in, these cookies are sure to impress friends and family.
- Fun for Kids: Making thumbprint cookies is a fantastic activity to do with kids. They’ll love shaping the dough and filling the indents with jam!
- Make Ahead & Store: These cookies store well, so you can make them ahead of time and keep them on hand for snacking or sharing.
Tips for Success
Alright, let’s make sure your thumbprint cookies turn out absolutely perfect! Here are my best tips to ensure your baking adventure goes smoothly:
- Dough Consistency: The dough should be soft but not sticky. If it feels too wet, add a little more flour, but be careful not to overdo it! You want it to hold its shape when you roll it into balls.
- Chill the Dough: If your kitchen is warm, consider chilling the dough for about 30 minutes before shaping. This helps the cookies maintain their form and prevents them from spreading too much while baking.
- Indent Depth: When making the indents, don’t be shy! Make them deep enough to hold a good amount of jam, but not so deep that they touch the baking sheet.
- Baking Time: Keep an eye on them as they bake! Ovens can vary a bit, so start checking around the 12-minute mark. You want the edges to be lightly golden, but don’t let them overbake, or they’ll lose that soft, melt-in-your-mouth texture.
- Cooling Time: Letting the cookies cool on the baking sheet for a few minutes is key. This helps them set up nicely before moving them to a wire rack, which prevents them from breaking apart.
- Experiment with Flavors: Don’t hesitate to mix things up! Add a pinch of cinnamon or a splash of almond extract to the dough for a lovely flavor twist. Your taste buds will thank you!
Follow these tips, and you’ll be well on your way to baking up a batch of scrumptious thumbprint cookies that everyone will love!
Variations of Thumbprint Cookies
Now, let’s get a little creative with our thumbprint cookies! One of the best things about this recipe is how versatile it is. You can truly make them your own with just a few simple tweaks. Here are some delicious variations to inspire you:
- Chocolate Hazelnut Delight: Swap out the fruit jam for chocolate hazelnut spread. The rich, creamy chocolate paired with the buttery cookie is simply divine!
- Citrus Burst: Mix in a teaspoon of orange or lemon zest into your dough for a refreshing twist. Pair it with a citrus jam, like orange marmalade, to enhance those bright flavors.
- Spiced Apple Jam: Use spiced apple or cinnamon jam for a warm, cozy flavor. It’s perfect for fall gatherings or any time you want to feel a little extra snug!
- Mixed Berry Fusion: Combine different berry jams like strawberry, raspberry, and blueberry for a lovely medley of flavors. It’s not only tasty, but it also looks gorgeous!
- Nutty Addition: Add finely chopped nuts like walnuts or pecans to the dough for a delightful crunch. A nutty jam, like fig, complements this variation beautifully.
- Caramel Swirl: Instead of jam, try using a spoonful of caramel sauce in the center of each cookie. You can even add a sprinkle of sea salt on top for a sweet and salty treat!
The possibilities are endless, so don’t hesitate to experiment and find your favorite combination. It’s all about making these thumbprint cookies uniquely yours! Enjoy the process, and have fun filling those little indents with whatever makes your taste buds dance!
Storage & Reheating Instructions
So, you’ve got some delicious thumbprint cookies left over—what a treat! Storing them properly is key to keeping that buttery goodness intact. First off, let the cookies cool completely on a wire rack. Once they’re cool, you can store them in an airtight container. This will keep them fresh and prevent them from getting too dry. If you’re like me and can’t resist nibbling on them every now and then, they’ll last for about a week at room temperature. Just remember to keep them out of direct sunlight!
If you want to keep them for longer, you can freeze them! Just layer the cookies between pieces of parchment paper in a freezer-safe container, and they’ll be good for up to three months. When you’re ready to enjoy them again, simply thaw them in the fridge overnight. You can even pop them in the microwave for a few seconds to warm them up and make that jam ooze again—yum! Just be careful not to overheat them, or they might get a bit tough. Trust me, nothing beats a warm thumbprint cookie right out of the microwave!
FAQ Section
Can I use any jam for thumbprint cookies?
Absolutely! You can use any fruit jam you love—strawberry, raspberry, apricot, or even chocolate spread for a unique twist. The choice is yours!
What if my dough is too sticky?
If your dough feels too sticky to handle, don’t worry! Just sprinkle in a little more flour, a tablespoon at a time, until it becomes more manageable. You want it to be soft but not overly sticky.
How do I know when my thumbprint cookies are done baking?
Keep an eye on your cookies as they bake. They’re ready when the edges are lightly golden, usually around 12-15 minutes. If they look too pale, give them another minute or two, but avoid overbaking!
Can I make the dough ahead of time?
Yes, you can! If you’d like to prepare the dough in advance, wrap it tightly in plastic wrap and refrigerate it for up to 3 days. Just let it soften a bit at room temperature before shaping the cookies.
Do thumbprint cookies freeze well?
Definitely! Thumbprint cookies freeze beautifully. Just layer them in an airtight container with parchment paper in between, and they’ll be good for up to three months. Thaw them in the fridge when you’re ready to enjoy!

Thumbprint Cookies: 5 Delightful Ways to Savor Happiness
- Prep Time: 15 minutes
- Cook Time: 15 minutes
- Total Time: 30 minutes
- Yield: 24 cookies 1x
- Category: Dessert
- Method: Baking
- Cuisine: American
- Diet: Vegetarian
Description
Delicious thumbprint cookies filled with jam.
Ingredients
- 1 cup unsalted butter, softened
- 1/2 cup granulated sugar
- 1/2 cup brown sugar, packed
- 1 teaspoon vanilla extract
- 2 cups all-purpose flour
- 1/2 teaspoon salt
- 1 cup fruit jam of your choice
Instructions
- Preheat your oven to 350°F (175°C).
- In a bowl, cream the butter and sugars together.
- Add vanilla extract and mix well.
- Gradually add flour and salt, mixing until combined.
- Shape the dough into small balls and place them on a baking sheet.
- Make an indent in the center of each ball using your thumb.
- Fill each indent with jam.
- Bake for 12-15 minutes or until edges are lightly golden.
- Let cookies cool on the baking sheet for a few minutes before transferring to a wire rack.
Notes
- You can use any flavor of jam.
- Store cookies in an airtight container.
- For a festive touch, sprinkle powdered sugar on top after cooling.
Nutrition
- Serving Size: 1 cookie
- Calories: 120
- Sugar: 10g
- Sodium: 50mg
- Fat: 8g
- Saturated Fat: 5g
- Unsaturated Fat: 3g
- Trans Fat: 0g
- Carbohydrates: 12g
- Fiber: 0g
- Protein: 1g
- Cholesterol: 30mg
Keywords: Thumbprint cookies, cookies, dessert, baking